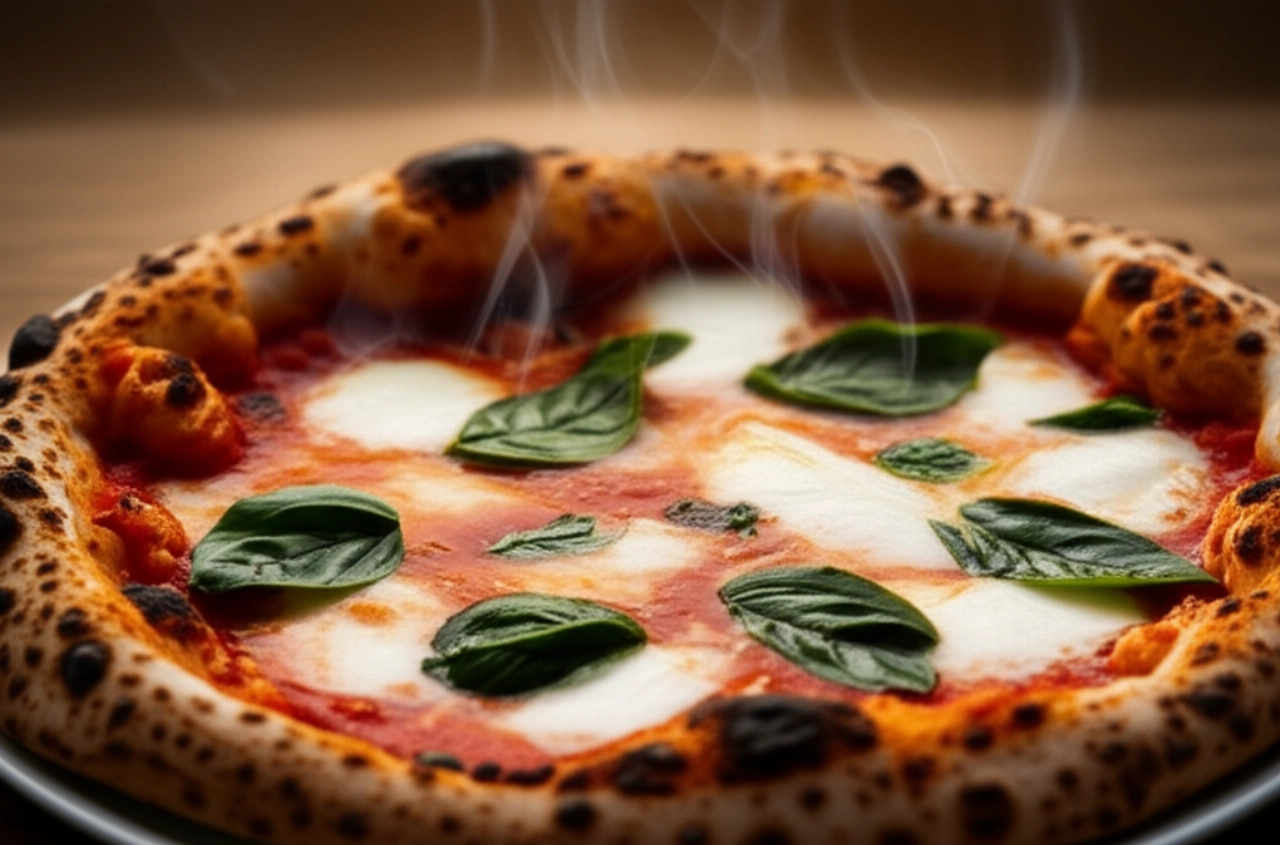
Dreaming of homemade pizza that's light, fragrant, and with that irresistible crust, just like from a pizzeria? Imagine the aroma filling your kitchen, the eager anticipation, and then... the first bite, an explosion of perfect flavor and textures.
But how many times has your dough turned out hard, gummy, difficult to roll out, or, even worse, heavy to digest? Finding the right recipe, one that guarantees results, seems like a mystery, doesn't it? The fear of wasting precious ingredients or disappointing guests is a common hurdle we know well.
Make yourself comfortable. Here on Search Recipes, you won't just find a list of ingredients, but the ultimate guide, full of 'grandma chef' tricks and tips, for a pizza dough that will make you say 'Wow!' every time. Success is guaranteed, and your kitchen will become everyone's favorite pizzeria. I promise you a dough that will be the secret to your perfect pizza: digestible, irresistible, with the right crispiness outside and softness inside.

Ingredients for a Dream Pizza Dough: The Choice That Makes the Difference
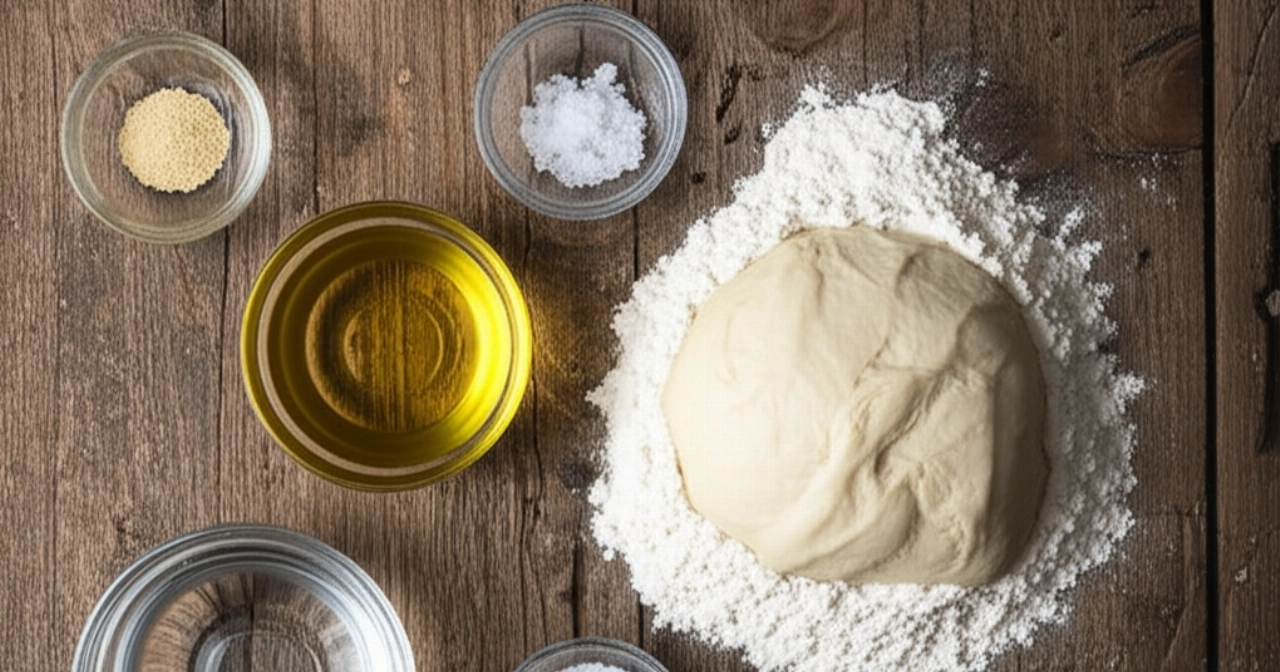
Every great pizza starts with carefully chosen ingredients. It's not just a list, but a symphony of elements that must work in harmony. Here's what you need and why:
- Flour: This is the heart of your dough. For a versatile and digestible pizza, I recommend a type "0" or "00" flour with medium strength (W 250-300). If you want a more airy pizza with a longer leavening time, you can opt for a type "0" or "1" flour with a higher W (W 300-350), or mix it with a type "00" flour. The strength of the flour (indicated by the W value) determines its ability to absorb water and form a robust gluten network, which is fundamental for the structure of your pizza.
- Water: It seems trivial, but temperature is crucial! Use lukewarm water (about 20-22°C) to best activate the yeast. The amount of water (hydration) is fundamental: for a soft and easy-to-work dough, aim for a hydration between 60% and 70% of the flour's weight. More water means more airiness and lightness, but also more difficulty in handling the dough.
- Yeast: You can use fresh or dry brewer's yeast. If using fresh, a small amount will suffice (2-3 grams per 500g of flour for long fermentations, 10-12g for shorter fermentations). If using dry, the quantity is about one-third of fresh. Always remember to dissolve it first in a small part of the lukewarm water, perhaps with a pinch of sugar (which "feeds" and activates it).
- Salt: Salt is essential for flavor and to regulate leavening, but it's an enemy of yeast if in direct contact. Always add it at the end, after you've already started kneading the flour with water and yeast. About 10-15 grams per 500g of flour is ideal.
- Extra Virgin Olive Oil: A drizzle of oil, added towards the end of kneading, makes the pizza more elastic, fragrant, and improves its preservation. Choose a good quality oil; it will make a difference in the final flavor.
5 Common Pizza Dough Mistakes (and How to Avoid Them)
Don't worry, we've all been there! But with these tips, you'll avoid the most common pitfalls:
- Too Much Flour or Insufficient Hydration: A dry dough will be hard, difficult to roll out, and the pizza will turn out gummy. Don't be afraid of a slightly sticky dough at first; it's a sign of good hydration. Resist the temptation to add too much flour during kneading.
- Insufficient or Excessive Leavening: If the dough doesn't rise enough, the pizza will be heavy and difficult to digest. If it rises too much, it risks "exhausting" itself and not holding up during baking. Follow the indicated times and observe the doubling of volume.
- Salt in Direct Contact with Yeast: Salt inhibits yeast activity. Always add it when the flour and yeast have already been partially combined with water.
- Dough Not Kneaded Enough: Kneading is fundamental for developing the gluten network, which will give structure and elasticity to your dough. Don't rush; knead vigorously until it becomes smooth and elastic.
- Oven Not Hot Enough: Pizza loves heat! If the oven isn't at its maximum temperature, the pizza will dry out before cooking properly and won't develop the desired crust. Preheat the oven for a long time and at its maximum power.
Grandma's Magic Touch: The Secret to a Light and Digestible Pizza
My grandma always said: "Haste is the enemy of good cooking, especially with bread and pizza!". And she was absolutely right. The true secret to a light, digestible pizza dough with perfect air pockets lies not just in the ingredients, but in time and care.
Her infallible trick, which has now become the basis for many gourmet pizzerias, is long cold fermentation in the refrigerator. Allowing the dough to mature slowly in the fridge for 24, 48, or even 72 hours allows enzymes to work, breaking down complex sugars in the flour. This not only makes the pizza incredibly digestible but also develops a unique flavor and aroma, impossible to achieve with a quick rise at room temperature. Furthermore, strengthening folds during the first rising phase are a small gesture that makes a big difference, giving strength and elasticity to the dough.
Let's Prepare the Perfect Pizza Dough Together: The Step-by-Step Guide
Now that you know all the secrets, let's get to work! I'll guide you step by step, without rushing, for a result that will fill you with pride.
Ingredients:
- 500g type 0 or 00 flour (W 250-300)
- 300-350ml lukewarm water (60-70% hydration)
- 2-3g fresh brewer's yeast (or 0.7-1g dry yeast)
- 10g fine salt
- 10ml extra virgin olive oil
- A pinch of sugar (optional, to activate the yeast)
Tools:
- Large bowl
- Kitchen scale
- Plastic wrap
- Baking sheet or pizza stone
Instructions:
- Activate the Yeast: In a small bowl, dissolve the yeast (and the pinch of sugar, if using) in about 50ml of lukewarm water. Let it rest for 5-10 minutes until a light foam forms on the surface. This ensures the yeast is active.
- First Kneading: In the larger bowl, pour the flour. Make a well in the center and pour in the water with the yeast. Begin to mix with a fork or your fingertips, gradually incorporating the flour from the edges. Once you have a coarse and sticky dough, add the salt and oil.
- Kneading the Dough: Transfer the dough to a lightly floured surface. Begin to knead vigorously, folding and stretching the dough over itself for at least 10-15 minutes. The goal is to develop the gluten network: the dough should become smooth, elastic, and no longer sticky. If using a stand mixer, knead with the dough hook on low speed for about 15-20 minutes.
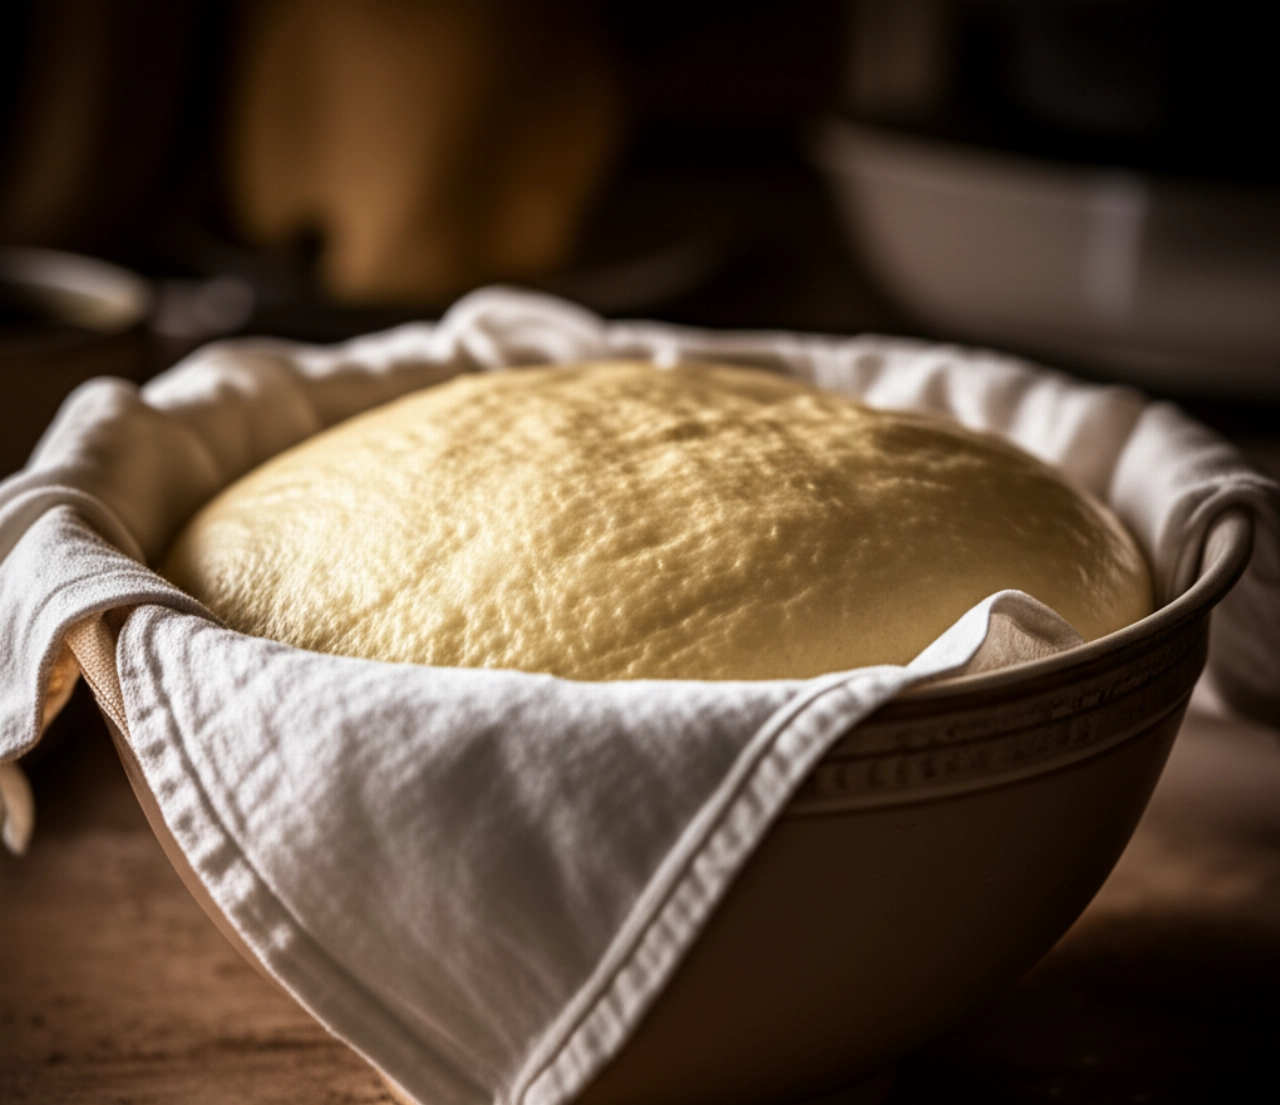
- First Rise (Bulk Fermentation): Form a ball with the dough, lightly grease it with oil, and place it in a large bowl. Cover with plastic wrap or a damp cloth and let it rise at room temperature (about 20-24°C) for 1-2 hours, or until it doubles in volume.
- Strengthening Folds (Optional but Recommended): After the first hour of rising, take the dough and perform a set of folds. Gently stretch it into a rectangle, then fold one side towards the center and then the other side over the first (like a wallet). Repeat the operation by rotating the dough 90 degrees. This strengthens the gluten network. Return it to the bowl and continue rising.
- Cold Fermentation in the Fridge (Slow Rise): This is grandma's secret! Once the volume has doubled, transfer the bowl (still covered) to the refrigerator (least cold part) for at least 24 hours, and up to 48-72 hours. This slow process makes the dough incredibly digestible and flavorful.
- Dividing and Proofing (Appretto): On the day of baking, take the dough out of the fridge at least 2-3 hours beforehand to let it return to room temperature. Divide the dough into portions (about 250-300g for a single pizza) and form well-closed balls (shaping). Arrange them on a lightly floured tray, cover with plastic wrap, and let them rest for another 1-2 hours at room temperature.
- Stretching the Pizza: On a well-floured surface (with durum wheat semolina to prevent sticking), take a dough ball and, using your hands (never a rolling pin, which crushes the bubbles!), gently stretch it from the center outwards, leaving the rim intact. Don't stress the dough; it should be elastic and yield easily.
- Baking: Top your pizza and bake in the already very hot oven (250°C or more, if your oven allows, with a pizza stone or a very hot baking sheet) for 5-10 minutes, depending on the oven, until the rim is puffed and golden and the base is crispy.
Tips and Frequently Asked Questions About Pizza Dough
Here are some of the questions I get asked most often, with answers that will help you clear up any doubts!
- What is the best flour for pizza?
- It depends on the result you want to achieve! For a classic and digestible pizza, a medium-strength flour (W 250-300) is perfect. If you're looking for extreme airiness and long fermentations, you can opt for flours with higher W values (Manitoba, W 350+), perhaps mixed with type 00 flour.
- Can I use sourdough starter?
- Absolutely yes! Sourdough starter provides even greater flavor and digestibility. The quantities and leavening times will change, but the principle is the same: patience and care. Generally, about 20-30% of refreshed sourdough starter is used relative to the flour's weight.
- How long should the dough rise?
- For a light and digestible dough, I recommend a total rising time of at least 24 hours, most of which in the refrigerator. If you're in a hurry, you can opt for a room temperature rise of 4-6 hours, slightly increasing the amount of yeast, but the result in terms of digestibility will be inferior.
- How can I freeze pizza dough?
- Once the dough has completed its first rise (before dividing into balls), you can divide it into portions, wrap them well in plastic wrap, and freeze them. When you want to use them, take them out of the freezer the night before and let them thaw slowly in the refrigerator. Then proceed with dividing and proofing at room temperature.
- Why isn't my pizza crispy?
- There are several reasons! Often it's due to an oven not hot enough: pizza needs a thermal shock to cook quickly and develop the crust. Make sure to preheat the oven to its maximum for at least 30-40 minutes, perhaps with a pizza stone or an inverted baking sheet. A dough that is too hydrated or not well-baked can also result in less crispiness.
There you have it! Now you don't just have a recipe, but all the secrets to bring a pizza to your table that tastes of home, tradition, and love. A perfect dough is the first step to a culinary masterpiece that will make everyone happy.
Don't be afraid to experiment and get your hands dirty. Cooking is an act of creativity and sharing. But start with this solid foundation, and you'll see that applause won't be lacking. Every time you knead, you'll feel the magic of creating something special with your own hands.
Have you tried our recipe? We're so curious to see your masterpiece! Leave a comment below, tell us how it went, or share a photo on Instagram by tagging @CercaRicette.it. And if you loved preparing this dough, you can't miss our recipe for a perfect Fresh Tomato Sauce to top your pizza, or for an irresistible dessert like our Original Tiramisu. Your culinary adventure continues with us!