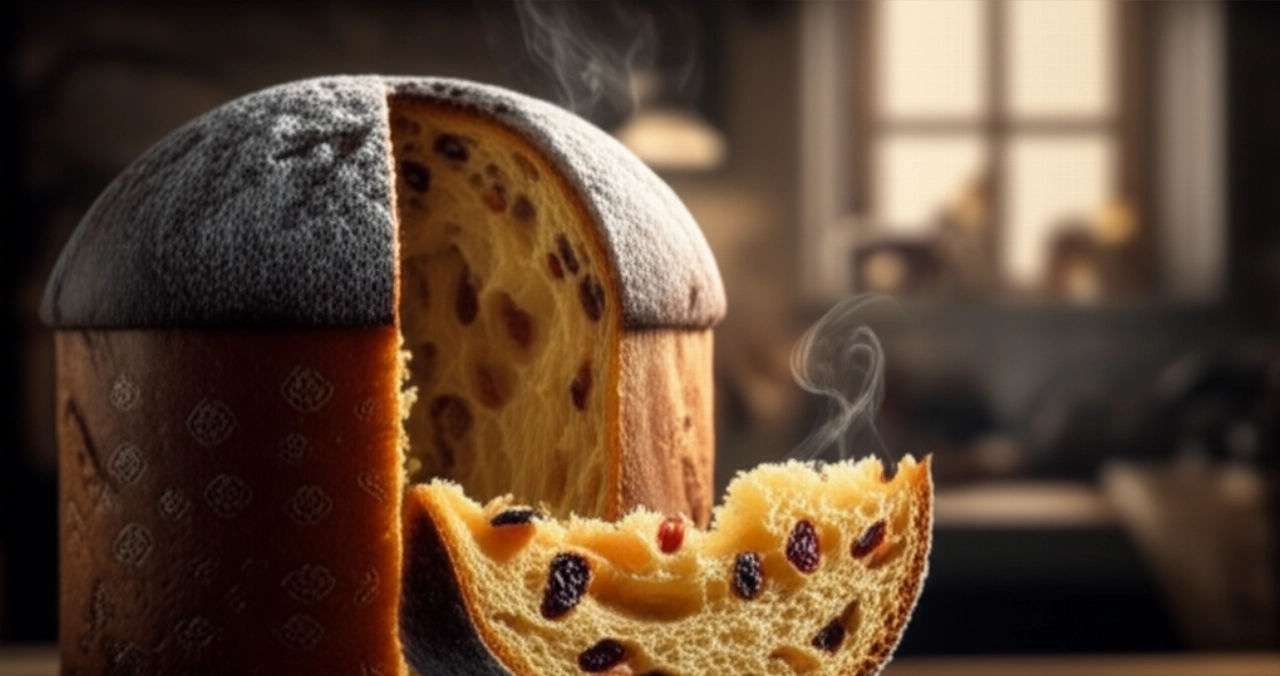
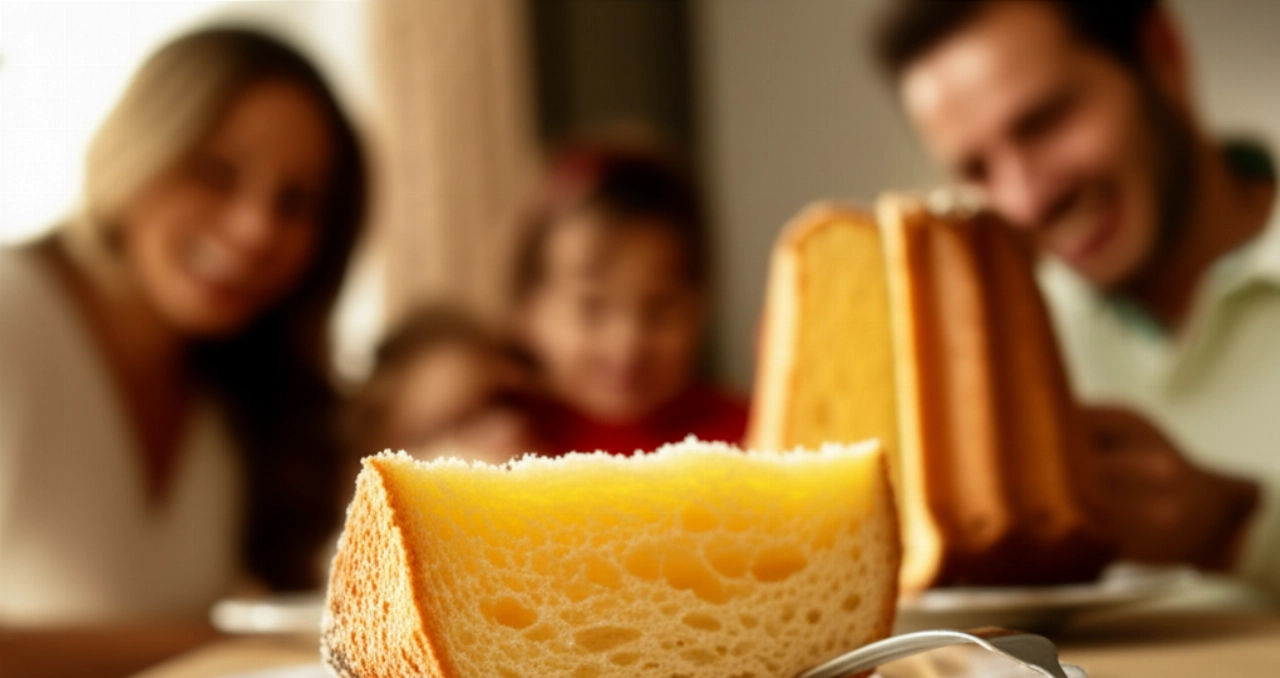
There's a scent that, more than any other, speaks of Christmas, of family gathered, of magic in the air. It's the unmistakable aroma of Pandoro, with its star shape evoking starry nights and its melt-in-your-mouth softness, leaving an explosion of butter and vanilla. A truly sweet embrace that warms the heart.
But let's be honest, the idea of making Pandoro at home can seem like a titanic undertaking, a dessert reserved only for master pastry chefs. Too many hours of rising, doughs that don't develop gluten, the fear of a hard, tasteless result, or, even worse, one that doesn't rise at all. How many times have you given up thinking: "It's too difficult for me"?
Get comfortable, because today I'm taking your hand and leading you into the heart of tradition, revealing all the secrets for a homemade Pandoro that will be the king of your table. I won't just give you a list of ingredients, but the definitive guide, full of tips and tricks, to prepare a Pandoro so soft, fragrant, and perfect that it will leave everyone speechless. Success is guaranteed, and your home will be filled with a magic that only homemade Pandoro can give. Forget performance anxiety and the fear of wasting ingredients: here you'll feel at home, and your Pandoro will be a masterpiece!
Smart Ingredients: The Choice That Makes All the Difference for a Perfect Pandoro
To prepare a respectable Pandoro means starting with the right foundations. Every ingredient plays a fundamental role, and their quality is the first step towards success. It's not just about quantities, but about why we choose these particular ones:
- Manitoba Flour (or "00" W350/380): This is no ordinary flour! Manitoba is a strong flour, rich in gluten, essential for creating that robust and elastic gluten network that allows the dough to develop perfectly and withstand long rising times. Without such flour, your Pandoro would not have its characteristic open crumb structure and softness.
- Fresh Brewer's Yeast: The beating heart of your Pandoro. Always choose fresh, block yeast. It's more active and provides a more vigorous rise and better aroma compared to dry yeast. Remember to always dissolve it in a little lukewarm (not hot!) milk to gently "activate" it.
- Fresh Eggs (yolks and one whole): Eggs are fundamental for giving richness, color, and softness to the dough. We primarily use yolks because they are rich in fats and natural emulsifiers that contribute to the softness and preservation of the cake. Excess egg white could make the dough gummier. Make sure they are at room temperature for better emulsification with the other ingredients.
- Granulated Sugar: Not only does it sweeten, but it also feeds the yeast and contributes to the browning of the crust.
- High-Quality Butter (cold): This is THE star! Butter, and its quality, make the difference between a good Pandoro and an exceptional one. It must be of excellent quality, with a good fat percentage. And most importantly, it must be cold from the refrigerator when you incorporate it, to create those thin layers that will give it its typical softness and melt-in-your-mouth texture.
- Flavorings (Vanilla, Lemon/Orange Zest): Vanilla (pod or pure extract) is indispensable for the classic Pandoro aroma. A touch of finely grated organic lemon or orange zest, as grandma used to do, will add a sublime citrus note that will enhance all the other flavors.
- Salt: Even in sweets, salt is a flavor enhancer. It balances flavors and strengthens the gluten network.

Mistakes to Avoid: The Secrets to a Soft and Stress-Free Pandoro
Preparing Pandoro might seem like a complex art, but often the most common mistakes are easily avoidable. I'll reveal the pitfalls and how to bypass them, to guarantee you a result worthy of applause:
- Under-Kneaded Dough (Not "Incordato"): This is the number one mistake. "Incordatura" (developing gluten) is when the dough, worked for a long time, becomes elastic, smooth, and detaches from the sides of the bowl. If the dough is sticky and doesn't form a strong "net," it hasn't developed enough gluten. The result? A dense and poorly aerated Pandoro. Solution: Keep kneading! Do not add flour unless strictly necessary. Patience is key. A stand mixer is a valuable ally for achieving perfect gluten development.
- Insufficient or Excessive Proofing: Proofing is a delicate process. If the dough doesn't rise enough, the Pandoro will be small and compact. If it rises too much, it risks "deflating" during baking or having too acidic a taste. Solution: Carefully follow the indicated times, but most importantly, trust your eye. The dough should double or triple in volume, depending on the phase. Find a warm place without drafts for proofing.
- Butter Incorporated Incorrectly: Butter is the secret to softness, but if not added correctly, it can compromise the structure. If it's too soft or added all at once, the dough will "break down" and no longer develop gluten. Solution: The butter must be very cold and cut into cubes. Add it one piece at a time, only when the previous one has been completely absorbed and the dough has regained its elasticity. This process is slow but fundamental.
- Wrong Baking Temperature: An oven that's too hot burns the outside, leaving the inside raw; an oven that's too cold doesn't allow the Pandoro to develop and makes it dry. Solution: Preheat the oven well and maintain a constant temperature. If you notice the surface browning too much, you can gently cover it with aluminum foil.
- Lack of Patience: Pandoro is a dessert that requires time and dedication. Rushing the steps, especially the proofing, is the surest way to ruin the result. Solution: Embrace the process. Enjoy every phase, from the aromas that fill the air to waiting for the dough to rise. Patience will be rewarded with an unforgettable Pandoro.
The Magic Touch: The Secret My Grandma Passed Down for a Fabulous Pandoro
My grandma, with her wise hands and reassuring smile, always taught me that cooking is about love and attention to detail. When she prepared Pandoro, she had a little secret that few know, a touch that made her cake truly unique and incredibly fragrant. In addition to vanilla, she always, always added a pinch of finely grated organic orange zest to the final dough, along with the vanilla.
"It's not just for the aroma, darling," she used to tell me, "it's for that citrus hint that pairs perfectly with butter and sugar, making the Pandoro even more enveloping and less cloying." And she was right! That small touch of citrus, almost imperceptible but present, gives a freshness and aromatic complexity that elevates Pandoro to a higher level. Try it, and you'll taste the difference!
Let's Prepare Homemade Pandoro Together: The Step-by-Step Guide to a Masterpiece
Ingredients:
- For the first dough (biga):
- 100 g Manitoba flour (or "00" W350/380)
- 50 ml lukewarm water
- 10 g fresh brewer's yeast
- For the second dough:
- All of the first dough
- 200 g Manitoba flour
- 80 g granulated sugar
- 2 whole eggs (medium, at room temperature)
- 50 ml whole milk (lukewarm)
- For the third dough:
- All of the second dough
- 200 g Manitoba flour
- 150 g granulated sugar
- 3 egg yolks (large, at room temperature)
- 1 teaspoon vanilla extract (or seeds from 1 pod)
- Grated zest of 1/2 organic orange (optional, but grandma recommended!)
- 5 g fine salt
- 200 g high-quality butter (cold from the refrigerator, cut into cubes)
- For the mold:
- Butter and flour to grease and flour the 1 kg Pandoro mold
Required Tools:
- Stand mixer with dough hook (highly recommended for gluten development)
- Large bowls
- Plastic wrap
- 1 kg Pandoro mold
- Kitchen thermometer (useful for milk and baking)
Step-by-Step Procedure:
-
Prepare the First Dough (Biga):
In a small bowl, dissolve the brewer's yeast in lukewarm water. In a larger bowl, pour the flour. Add the water with the yeast and mix roughly with a spoon until you get a sticky dough. Cover with plastic wrap and let it rise in a warm place (about 25-28°C) for at least 1 hour, or until it doubles in volume and shows bubbles on the surface. This is your pre-ferment, the base for a soft Pandoro!
-
Prepare the Second Dough:
In the bowl of the stand mixer (or in a large bowl if kneading by hand), pour the risen first dough. Add the flour, sugar, whole eggs, and lukewarm milk. Start the stand mixer with the dough hook (or knead vigorously by hand) at low speed for about 10-15 minutes, until the dough is smooth, elastic, and detaches from the sides of the bowl (gluten development). Don't rush! The dough must be well worked. Cover with plastic wrap and let it rise in a warm place for about 2-3 hours, or until it doubles in volume.
-
Prepare the Third Dough (the Final Dough):
Take the risen second dough. In the stand mixer (or on a pastry board), add the flour, sugar, egg yolks, vanilla extract, orange zest (if using), and salt. Start the stand mixer and knead at medium speed for about 15-20 minutes, until the dough is again smooth, elastic, and well-developed. This is the most important moment: the dough must be strong enough to support the butter.
-
Incorporate the Butter (the most delicate phase):
With the stand mixer running at low speed, add the cold butter cut into cubes, one piece at a time. Wait until each cube is completely absorbed by the dough before adding the next. This process will take time (even 20-30 minutes), but it is crucial for the Pandoro's softness. The dough will become shiny, elastic, and detach perfectly from the sides. This is the so-called "sfogliatura" (lamination) that occurs during kneading, not with folds like for puff pastry. Once all the butter is incorporated, work for another couple of minutes.
-
First Proofing in the Mold:
Butter and flour the Pandoro mold very well, making sure to cover every corner. Invert the dough into the mold. Don't worry if it seems small, it will grow! Cover the mold with plastic wrap (without tightening too much) and let it rise in a warm place (about 28-30°C is ideal) for 6-10 hours, or until the dough almost reaches the edge of the mold. This is when the magic happens, be patient!
-
Baking:
When the dough has reached the edge, preheat the static oven to 170°C. Bake the Pandoro and cook for about 40-50 minutes. Times may vary depending on the oven. To be sure of doneness, you can use a kitchen thermometer: the core of the Pandoro should reach 92-94°C. If the surface browns too much, you can cover it with aluminum foil.
-
Cooling and Serving:
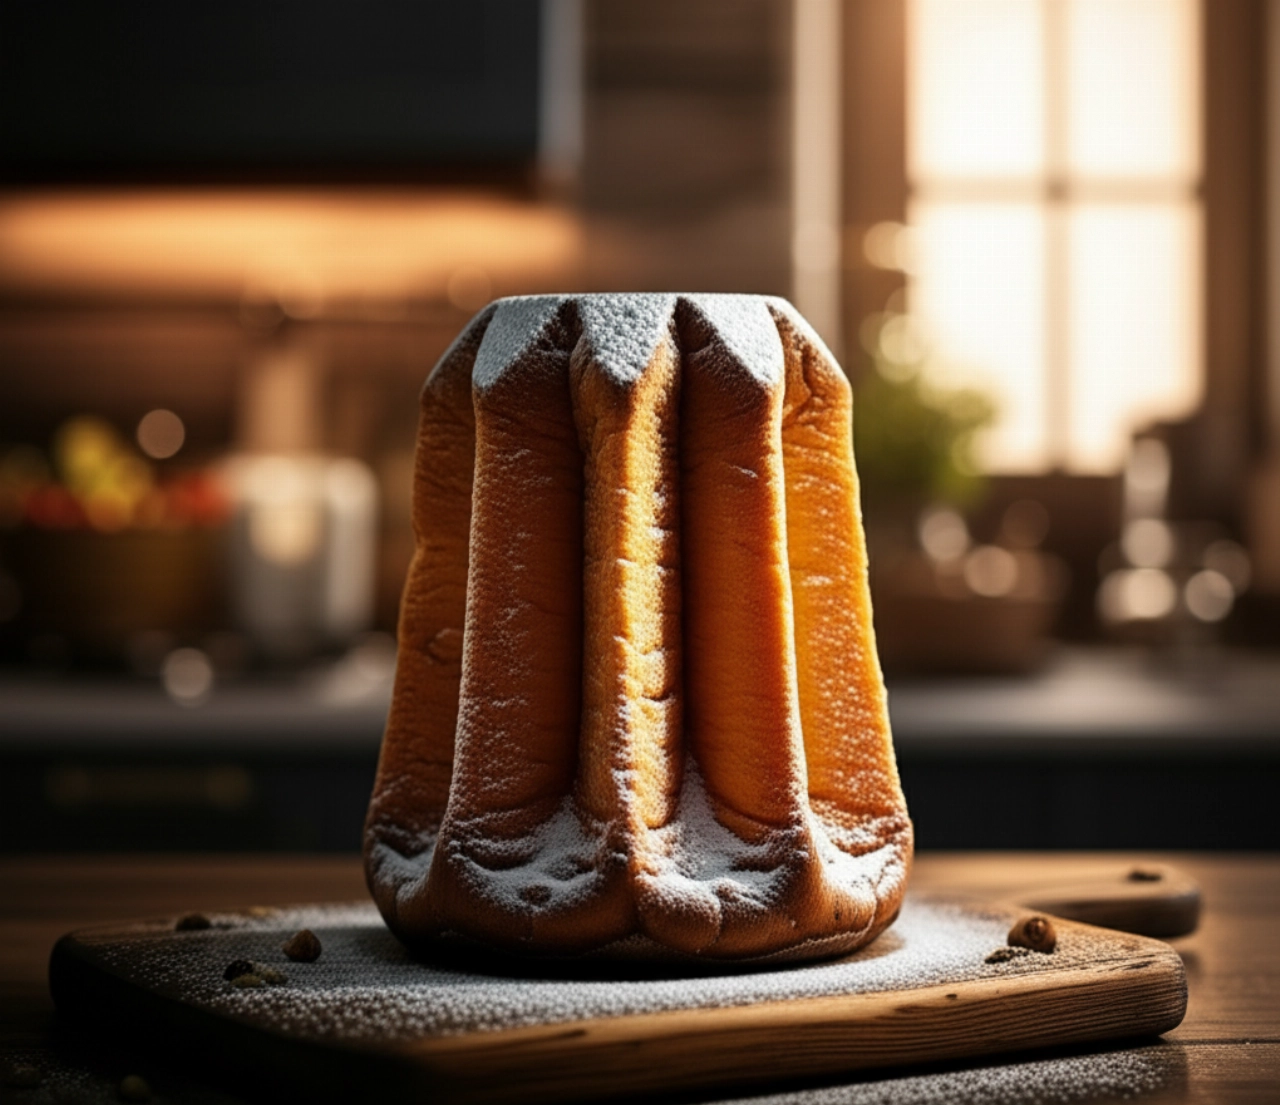
Once baked, remove the Pandoro from the oven and let it cool in the mold for about 10-15 minutes. Then, gently invert it onto a wire rack and let it cool completely. This step is essential to prevent it from collapsing. Once cool, dust generously with powdered sugar before serving. Cut it into horizontal slices to admire its star shape and incredible softness.
Tips and Frequently Asked Questions about Homemade Pandoro
Here are some of the most common questions you might ask yourself while preparing your Pandoro:
1. Can I use dry brewer's yeast instead of fresh?
Yes, you can, but the result might be slightly different in terms of aroma and rising power. If you use dry yeast, consider that 10g of fresh yeast is equivalent to about 3-4g of dry yeast. Remember to always activate it in a little lukewarm liquid before adding it to the flour.
2. How long does the total proofing take?
The Pandoro proofing process is long and can vary greatly depending on the ambient temperature. In total, across the various phases, it could take from 10 to 15 hours. Patience is your best friend in this recipe!
3. How do I know if the dough has developed gluten correctly?
Properly developed dough is smooth, elastic, and completely detaches from the sides of the stand mixer bowl. If you take a piece of dough in your hands and gently stretch it, you should be able to form a thin, transparent "windowpane" without it tearing. This is the famous "windowpane test."
4. Can I prepare Pandoro in advance and freeze it?
Absolutely! Once baked and completely cooled, you can wrap it tightly in plastic wrap and then in aluminum foil. It can be stored in the freezer for 1-2 months. To thaw it, leave it at room temperature for several hours or overnight. It will be like freshly made!
5. Why did my Pandoro turn out hard or not very airy?
The most common causes are insufficient gluten development (the dough didn't develop enough gluten), too short a proofing time (it didn't have time to develop), or excessive baking that dried it out. Reread the "3 mistakes to avoid" and try to correct your approach next time!
Conclusion: Your Christmas Masterpiece is Ready!
There you have it! Now you don't just have a recipe, but all the secrets to unveil the magic of homemade Pandoro. A dessert that speaks of tradition, warmth, soul-filling aromas, and unforgettable moments to share with loved ones. Each slice will be a triumph of softness and flavor, a true sweet embrace that will fill you with pride.
Don't fear the waiting times; they are part of the ritual. Every step is a small stride towards a result that will fill you with satisfaction. Your kitchen will become the beating heart of Christmas, and your Pandoro will be the brightest star on the table.
Have you prepared your Pandoro following our tips? We're very curious to see your masterpiece! Leave a comment below, tell us how it went, or share a photo on Instagram by tagging @CercaRicette.it. And if the Christmas atmosphere has captivated you, you can't miss our recipe for Homemade Panettone, or, for a quicker but equally delicious alternative, our Classic Tiramisu!