Dreaming of serving golden vol-au-vents, so crispy that with the first bite you hear a delightful crunch, and so elegant they make your guests' eyes sparkle? Imagine their expression of surprise and admiration when they taste these small masterpieces, perfect for an aperitif, appetizer, or buffet.
Too often, however, the result is disappointing: they collapse, remain soft, or burn, and that perfect shape seems like a mirage. Finding the right recipe, one that guarantees success, can seem like a daunting task, and the fear of wasting precious time and ingredients is always around the corner.
But don't worry, my dear kitchen friend! Make yourself comfortable. On this page, you won't just find a list of ingredients, but the definitive guide, full of practical tips and tricks, for preparing perfect vol-au-vents. Success is guaranteed, and the satisfaction of watching them disappear in a flash will be priceless. I will reveal all the secrets to obtaining golden, flaky shells that maintain their impeccable shape, ready to welcome the filling of your dreams.
Ingredients for Perfect Vol-au-vents: The Choice That Makes a Difference
For an impeccable result, the quality of the ingredients is fundamental. It's not just a list, but targeted choices that will make the difference between an ordinary vol-au-vent and one worthy of applause.
- High-Quality Puff Pastry: This is the heart of your vol-au-vents. Choose a rectangular puff pastry with butter, preferably without hydrogenated fats. The difference will be felt in the fragrance and its ability to puff up. Two rolls will be sufficient for about 12-15 medium-sized vol-au-vents.
- Egg (or yolk): This will be used to brush the surface and give it that irresistible golden color. A yolk with a tablespoon of milk or water is perfect for a more intense color.
- Cold Water: A small trick to cut the puff pastry without it sticking to the cutter and to maintain its flakiness.
- Flour: A pinch for the work surface, but don't overdo it.
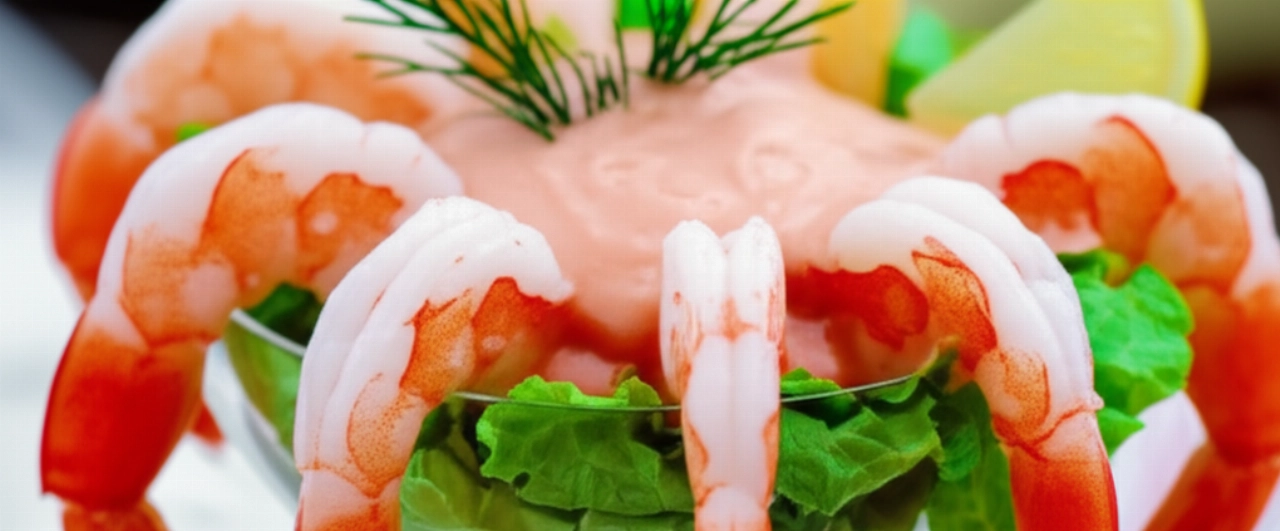
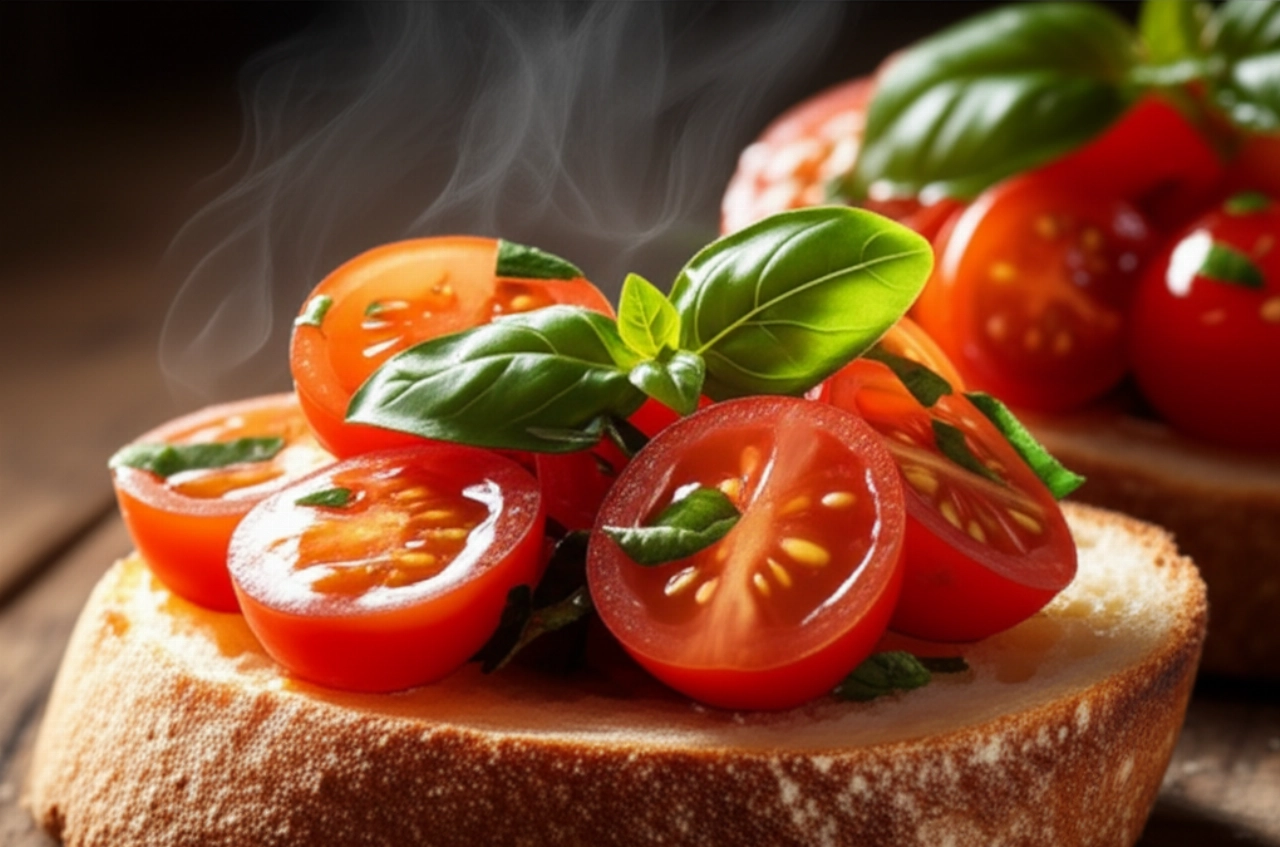
- Filling of Choice: Although this recipe focuses on preparing the shells, think about the filling already! Mushrooms, béchamel, shrimp in pink sauce, cheese mousse, smoked salmon... the possibilities are endless.
Essential Tools for Chef-Quality Vol-au-vents
Having the right tools will simplify your life and guarantee a professional result.
- Round Cookie Cutters: You will need two cookie cutters of different sizes (e.g., one 6-7 cm and one 4-5 cm) to create the base and the top ring. If you don't have them, you can use glasses of different sizes.
- Rolling Pin: To lightly roll out the puff pastry, if necessary.
- Pastry Brush: Essential for brushing the egg.
- Fork: For pricking the base.
- Parchment Paper: For the baking sheet, prevents sticking.
- Baking Sheet: Large, for baking in a single layer.
The 3 Common Mistakes with Vol-au-vents (and How to Avoid Them)
There's nothing more frustrating than dedicating yourself to a recipe and seeing it fail. But with these tips, you'll avoid the most common pitfalls and sail towards success!
- Not Pricking the Base: If you don't prick the center of the base, it will puff up excessively, creating a "bubble" and leaving no space for the filling. Remember to prick only the inner base, not the top ring.
- Not Brushing Correctly: Brushing too much or too little, or letting the egg drip onto the cut edges, can compromise the puffing. Brush gently and precisely only the top surface of the ring.
- Wrong Oven Temperature: An oven that's too cold won't make the pastry puff, one that's too hot will burn it externally while leaving it raw inside. The temperature and times I'll give you are based on experience, follow them with confidence.
The Extra Touch: My Grandmother's Tip for Perfect Vol-au-vents
My grandmother, the queen of appetizers, had a secret for her vol-au-vents that always made them impeccable, with a perfect shape and generous space for the filling. After placing the ring on the base, she would put a small weight in the center of the base, like a piece of parchment paper with dried beans or ceramic baking beads on top. This prevented the base from puffing up too much and ensured a perfect hollow. Another trick, which I prefer for its simplicity, is to use a smaller cookie cutter to gently press the inner base after pricking it, creating a groove that will guide the puffing and maintain the shape.
Let's Prepare Vol-au-vents Together: The Step-by-Step Guide
Now that we have all the secrets, let's get cooking! Follow these steps calmly and precisely, and the result will surprise you.
- Prepare the Pastry: Gently unroll the puff pastry on a lightly floured surface or directly on the provided parchment paper. If necessary, lightly roll it out with a rolling pin to make it more uniform.
- Cut the Bases: Using the larger cookie cutter (e.g., 6-7 cm), cut out discs from the puff pastry. Try to be precise to get the maximum number of bases. For two rolls of pastry, you should get about 12-15 discs. Remove the scraps and set them aside (we'll use them!).
- Create the Rings: Take the puff pastry scraps and gently knead them to reform a ball. Roll it out again and, with the larger cookie cutter, cut out more discs. Now, with the smaller cookie cutter (e.g., 4-5 cm), cut out the center of these new discs, creating rings. These will be the top part of your vol-au-vents.
- Assemble the Vol-au-vents: Arrange the bases (the whole discs) on a baking sheet lined with parchment paper. With a fork, generously prick the center of each base, leaving a border of about 1 cm intact. This is crucial to prevent the base from puffing up too much.
- Apply the Rings: Lightly brush the unpricked border of each base with a little cold water (helps with adhesion). Gently place a pastry ring on each base, pressing it down well.
- The Perfect Browning: In a small bowl, beat the egg (or yolk with a tablespoon of milk/water). With the brush, carefully brush only the surface of the rings, avoiding letting the egg drip onto the cut edges, otherwise it would hinder the puffing.
- Preheat the Oven: Turn on the static oven to 200°C. It's important that it's well heated before baking.
- The Magical Baking: Bake the vol-au-vents in the hot oven for about 15-20 minutes, or until they are well puffed, golden, and crispy. The time may vary slightly depending on your oven. Keep an eye on the browning!
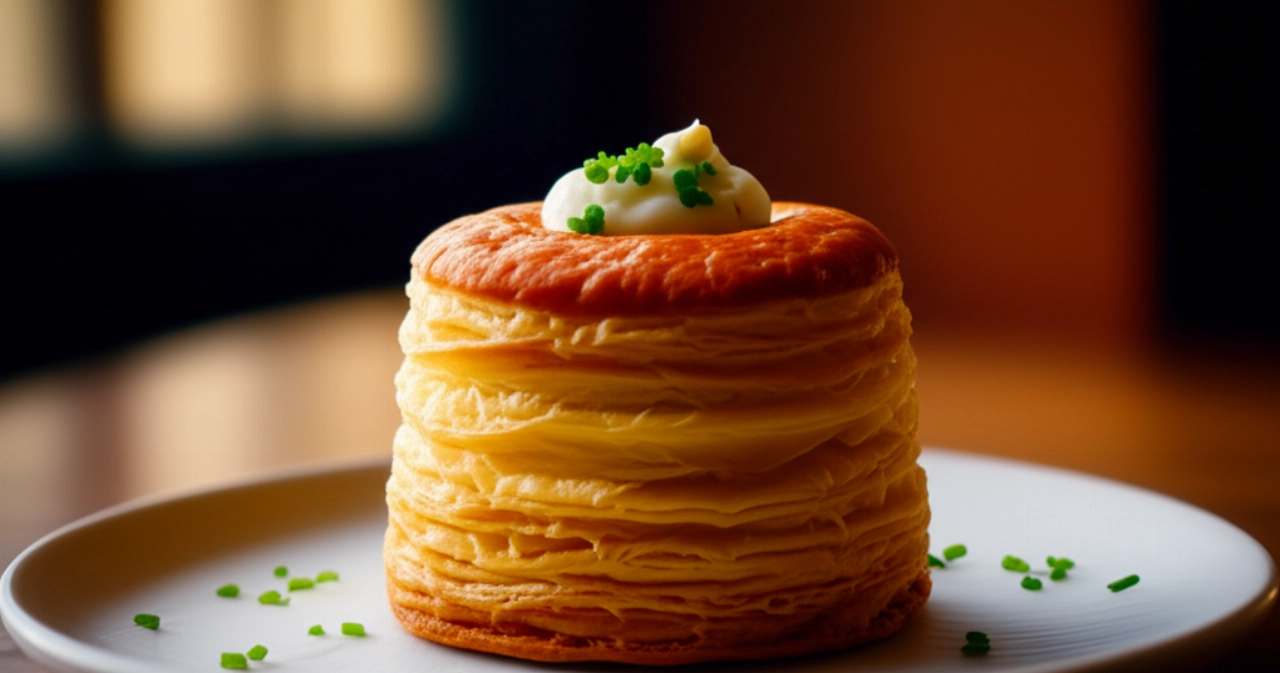
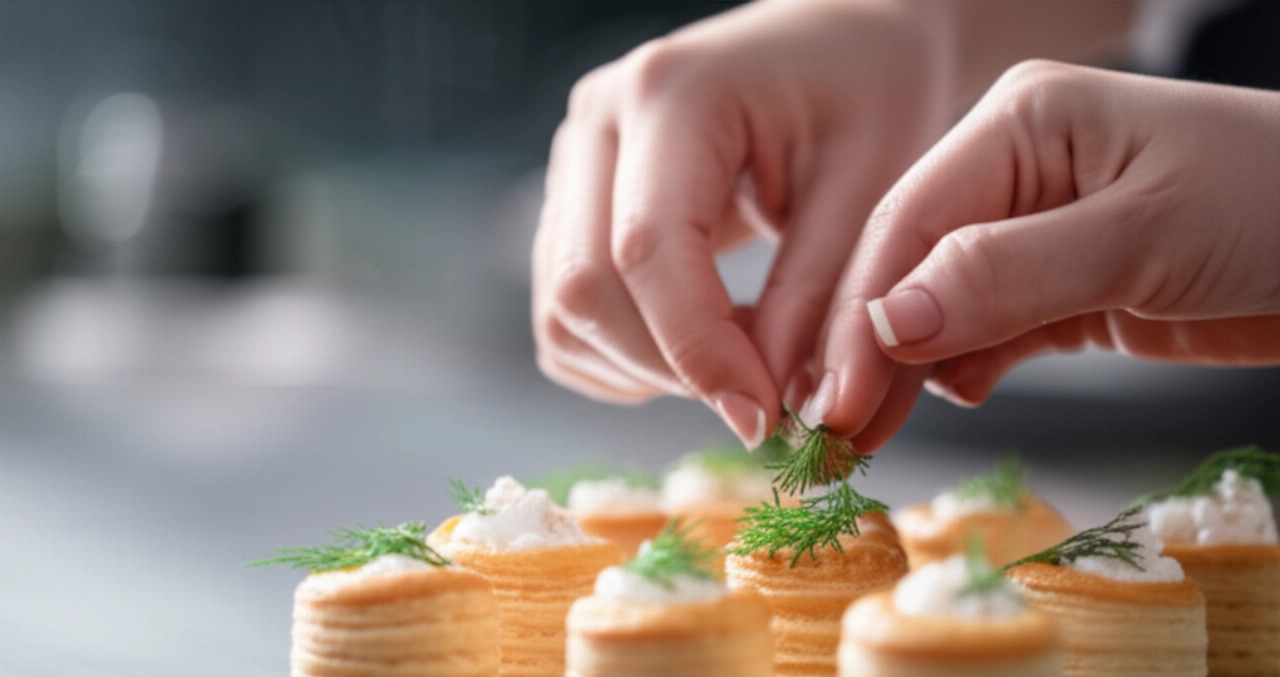
- Cooling and Filling: Once baked, remove the vol-au-vents from the oven and let them cool on a wire rack. If the base has puffed up slightly, you can gently press it down with a teaspoon to create more space for the filling. At this point, they are ready to be filled with your favorite filling!
Tips and Frequently Asked Questions about Vol-au-vents
Here are some of the most common questions I get asked, with my "grandma-chef" answers!
Can I use pre-made puff pastry?
Absolutely yes! In fact, for this recipe, it's almost a must. Choose a good quality one, preferably with butter, and you'll make a great impression effortlessly. The key is the subsequent handling.
How can I store vol-au-vents once baked?
Baked and unfilled shells can be stored in an airtight container at room temperature for 2-3 days, maintaining their crispness. If you've already filled them, it depends on the filling: if creamy or fish-based, they should be consumed immediately or stored in the fridge for a maximum of one day.
What fillings can I use for vol-au-vents?
The possibilities are endless! Classics include mushrooms and béchamel, cheese cream, shrimp in pink sauce, tuna or salmon mousse. But you can also explore olive pâté, sautéed vegetables, white ragù, or even sweet fillings like pastry cream and fresh fruit for a dessert version!
Why don't my vol-au-vents puff up well?
There are several reasons: the puff pastry might not be of good quality, the oven wasn't hot enough, or you brushed the egg onto the cut edges, preventing the pastry from "puffing." Make sure to follow the steps carefully, especially regarding oven temperature and brushing.
Can I prepare vol-au-vents in advance and freeze them?
Yes, you can freeze the baked and unfilled shells. Let them cool completely, then place them in a well-sealed food bag. When you need them, thaw them at room temperature and heat them for a few minutes in an oven at 150°C to restore their crispness. I do not recommend freezing them already filled, unless the filling is specifically suitable for freezing.
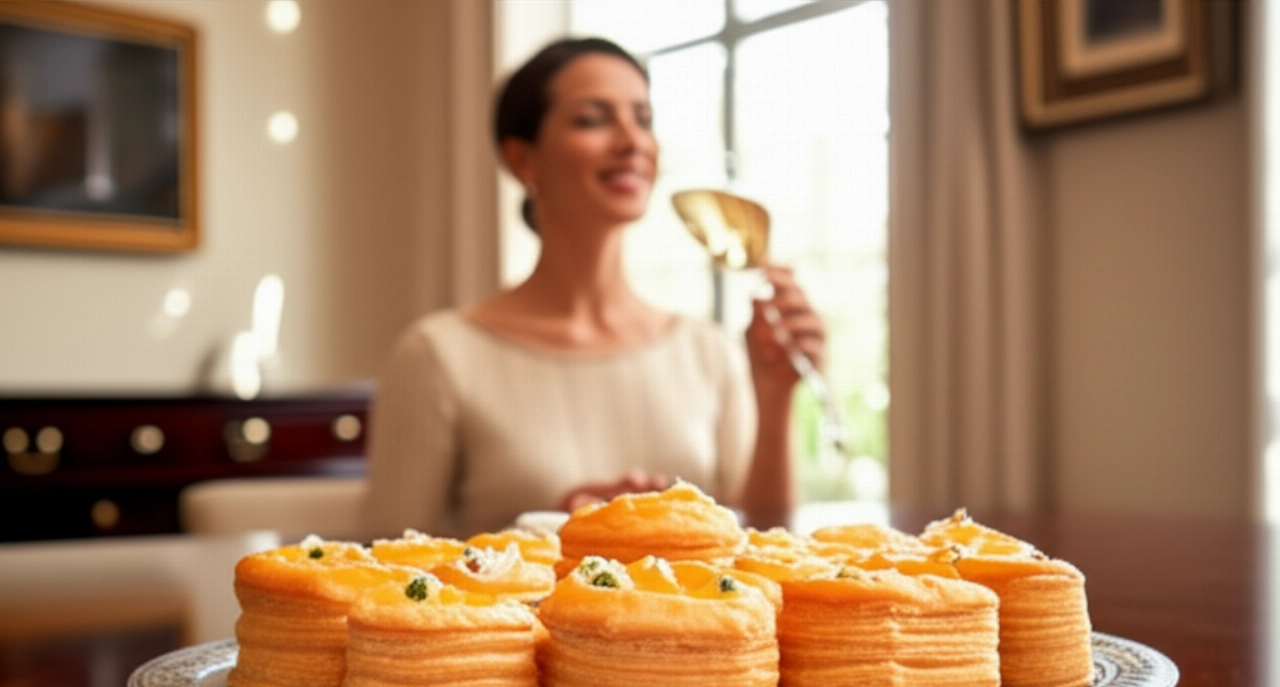
Your Kitchen Success is Guaranteed!
There you have it! Now you don't just have a recipe, but all the secrets to bringing vol-au-vents to the table that will make your eyes and your guests' eyes sparkle. An elegant, crispy, and incredibly tasty appetizer that tastes of celebration and care. It's not just a dish, it's a gesture of love and attention that your diners will appreciate.
Don't be afraid to experiment with fillings, from classic mushroom to creamy cheese, from tuna mousse to salmon mousse. The base is solid, success is assured. Cooking is an act of creativity, and with these little jewels, you'll make a great impression! Remember, every time you prepare something with your own hands, you are creating a precious memory.
Have you tried our recipe? We're very curious to see your masterpiece! Leave a comment below, tell us how it went, or share a photo on Instagram by tagging @CercaRicette.it. If you loved these vol-au-vents, you can't miss our recipe for the Perfect Béchamel, ideal for a creamy filling, or for another delicious appetizer like Savory Puff Pastry Pinwheels. Until next time, and bon appétit!