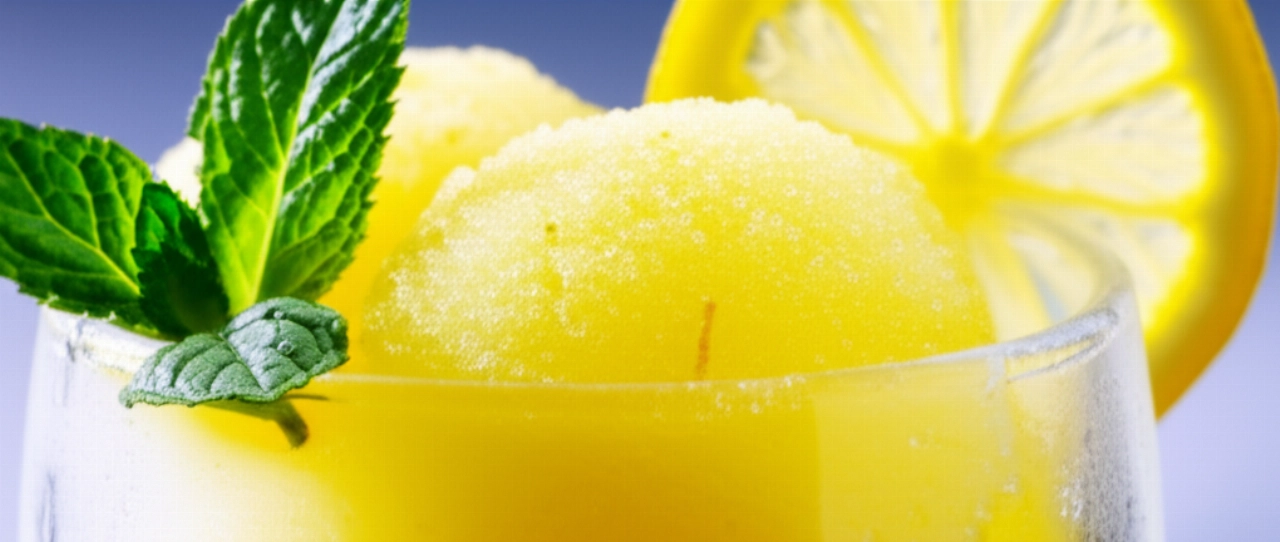
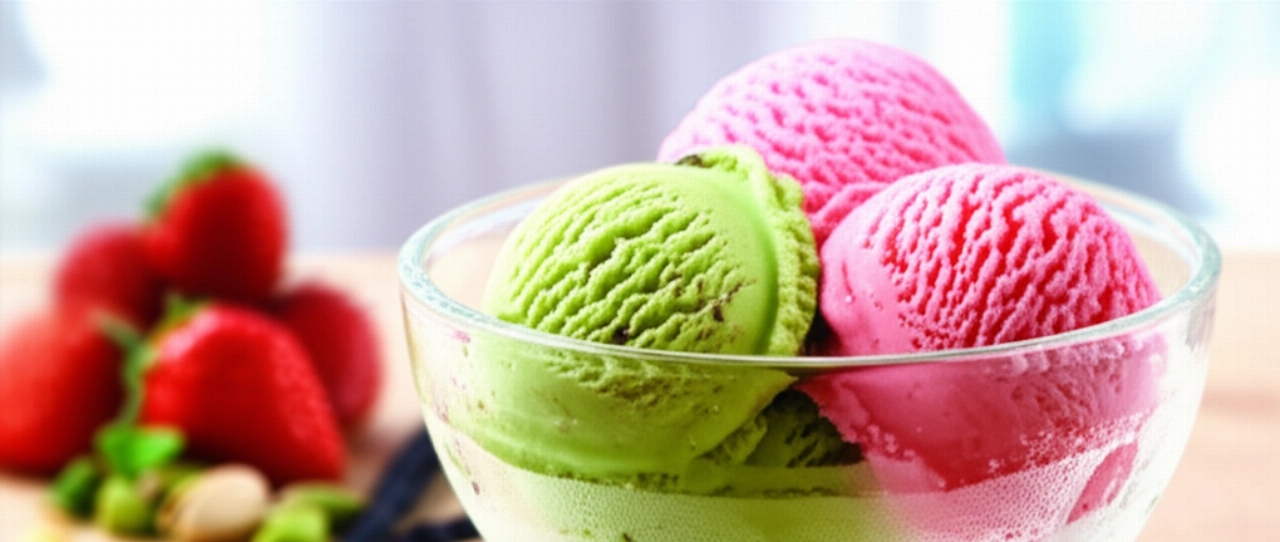
Dreaming of homemade ice cream, so creamy and velvety it tastes like it just came from an ice cream parlor, but without having to buy expensive machinery? Imagine the smiles of your loved ones when they taste a fresh, genuine dessert prepared with your own hands, a true embrace of sweetness that tastes of summer and happiness.
Too often, however, homemade ice cream ends up being hard as a rock, difficult to serve, or even worse, full of annoying ice crystals that ruin the experience. The fear of wasting precious ingredients and dedicated time holds you back from trying, leaving you with the frustration of not being able to replicate the magic of your favorite flavor.
Make yourself comfortable, because your search is over. Here on Search Recipes, you won't just find a list of ingredients, but the definitive guide, full of inherited and perfected tricks and tips, to prepare the best homemade ice cream of your life. I promise you an incredibly creamy and velvety result, without the need for an ice cream maker, saying goodbye forever to annoying ice crystals. Success is guaranteed, and your family will ask for seconds!
Ingredients for a Dream Homemade Ice Cream: The Choice That Makes the Difference
To get ice cream that makes you say "wow," the quality of the ingredients is fundamental. It's not just a list, but a reasoned selection, the secret behind every perfect spoonful.
- Fresh Liquid Cream (at least 35% fat): It's the queen of creaminess! Don't skimp on the fat percentage; it's what will give your ice cream that velvety, enveloping consistency you're looking for. Without good cream, the ice cream will be less rich and more prone to forming crystals.
- Fresh Whole Milk: Whole milk contributes to the structure and flavor. Do not use skimmed or partially skimmed milk, as it would reduce the creaminess and richness of your ice cream.
- Very Fresh Egg Yolks: They are the natural emulsifier par excellence. Yolks bind the ingredients, add color, and, most importantly, make the ice cream incredibly smooth and lump-free. Choose excellent quality ones, perhaps from free-range farms.
- Granulated Sugar: Not only does it sweeten, but it's essential for consistency. Sugar lowers the freezing point of water, helping to prevent the formation of ice crystals. The quantity is balanced for perfect sweetness without being cloying.
- Quality Vanilla Extract (or bean): Vanilla is the soul of cream ice cream. A good extract or the seeds of a real bean will make all the difference, giving an unmistakable aroma and flavor. Avoid artificial flavors!
The 3 Mistakes That Ruin Homemade Ice Cream (and How to Avoid Them)
Even the most experienced can fall into these traps. But not you! Knowing them will allow you to avoid them and guarantee resounding success.
- Not Pasteurizing the Base Correctly: This is the most common and dangerous mistake. The ice cream base, which contains egg yolks, must reach a specific temperature (around 82-85°C) to pasteurize the eggs and make it safe, without "scrambling" them (i.e., cooking the yolks like an omelet). I will guide you step by step to do it perfectly.
- Not Stirring Enough During Freezing (Without an Ice Cream Maker): If you're not using an ice cream maker, the key to creaminess is to stir the ice cream every 30-45 minutes during the first few hours of freezing. This breaks up nascent ice crystals and incorporates air, making the ice cream soft and velvety. Skipping this step means ending up with a block of ice.
- Using Low-Fat Ingredients: The temptation to make the ice cream "lighter" is strong, but using skimmed milk or light cream is a fatal mistake for consistency. Fats are essential for softness and for preventing crystal formation. Don't compromise quality for lightness; ice cream is a pleasure to be fully enjoyed!
The Magic Touch for Creamy Ice Cream: Grandma's Secret
My grandmother, when she made ice cream, had a secret that few knew, a small trick that transformed a good recipe into a masterpiece. It wasn't a secret ingredient, but a gesture, an almost ritual patience.
Her trick was "manual churning", a process she called "cuddling the ice cream". After preparing and chilling the base, she poured it into a shallow, wide container. Every half hour, for the first 3-4 hours of freezing, she would take the container out and, with a sturdy spatula or wooden spoon, energetically stir the mixture from bottom to top, scraping the sides well. This not only broke up ice crystals but also incorporated air, making the ice cream incredibly light and fluffy, just like from an ice cream parlor. It was a labor of love, requiring consistency, but the result was always a triumph of creaminess that melted in your mouth.
Let's Prepare Cream Ice Cream Together: The Step-by-Step Guide
Now that you know all the secrets, it's time to get your hands dirty (or rather, in the ice cream!). Follow each step carefully, and success will be guaranteed.
Ingredients:
- 500 ml fresh whole milk
- 250 ml fresh liquid cream (at least 35% fat)
- 150 g granulated sugar
- 4 very fresh egg yolks
- 1 vanilla bean (or 1 teaspoon quality vanilla extract)
Tools:
- Heavy-bottomed saucepan
- Hand or electric whisk
- Kitchen thermometer (essential!)
- Large bowl
- Airtight freezer-safe container (shallow and wide is better)
Method:
- Prepare the Aromatic Base: In a heavy-bottomed saucepan, pour the whole milk and cream. If using a vanilla bean, slice it lengthwise, scrape out the seeds, and add both the seeds and the pod to the mixture. Bring everything almost to a boil over medium-low heat, stirring occasionally. As soon as you see the first bubbles on the edges, turn off the heat and let it infuse for about 10 minutes if you used the bean, to release all the aromas. Remove the vanilla bean.
- Prepare the Egg Yolk and Sugar Mixture: In a large bowl, whisk the egg yolks with the granulated sugar using a hand or electric whisk. You should obtain a light and frothy mixture, almost white. This step is crucial for incorporating air and making the ice cream lighter.
- Pasteurize the Cream: Slowly pour the warm (but not boiling) milk and cream mixture over the beaten egg yolks, stirring continuously with the whisk. This will prevent the yolks from cooking. Now, transfer the entire mixture back into the clean saucepan and return it to very low heat. Stir constantly with a wooden spoon or spatula, scraping the bottom and sides well, until the cream thickens slightly and reaches a temperature of 82-85°C with a kitchen thermometer. Do not exceed this temperature to avoid "scrambling" the eggs. If you don't have a thermometer, the cream will be ready when it coats the back of a spoon.
- Rapidly Chill the Base: As soon as the cream is ready, immediately remove it from the heat and transfer it to a clean bowl. For rapid cooling, place the bowl in another larger one filled with cold water and ice (reverse bain-marie). Stir occasionally until the cream is completely cold (room temperature or even colder). This step is fundamental to prevent bacterial proliferation and for the final consistency of the ice cream.
- Freezing and Manual Churning (Without an Ice Cream Maker): Pour the cold base into a shallow, wide airtight container suitable for the freezer. Place in the freezer.
- After 30-45 minutes, take the container out. The mixture will start to solidify on the edges. With a spatula or spoon, energetically scrape the edges and stir the entire mixture, from bottom to top, to break up ice crystals and incorporate air.
- Repeat this operation every 30-45 minutes for the next 3-4 hours. You will see the ice cream become increasingly creamy and homogeneous.
- Once it has reached the desired consistency, let it rest in the freezer for at least 2-3 hours before serving, so it stabilizes.
- Storage: Store the ice cream in an airtight container in the freezer. To enjoy it best, take it out of the freezer 10-15 minutes before serving, so it softens slightly and releases all its flavors.
Tips and Frequently Asked Questions About Homemade Ice Cream
Here are some of the questions I get asked most often, with answers that will help you clear up any doubts and perfect your ice cream.
- Can I make ice cream without eggs?
- Certainly! There are egg-free ice cream recipes, often based solely on cream and condensed milk or fruit. However, the recipe with egg yolks (like this one) guarantees unparalleled creaminess and structure, thanks to the emulsifying properties of eggs. If you prefer an egg-free version, look for our recipe for "Quick Fruit Ice Cream."
- How do I avoid ice crystals?
- The secret lies in three key points: 1. The right proportion of sugars and fats (don't reduce them!). 2. Correct pasteurization of the base. 3. Constant manual churning during freezing (the "grandma's secret"!). Stirring every 30-45 minutes is essential to break up nascent crystals.
- How long does homemade ice cream keep?
- Homemade ice cream, stored in an airtight container, keeps perfectly for about 1 week in the freezer. After this period, it might start to lose some consistency and form some crystals, but it will still be good. The important thing is that the container is well sealed to prevent it from absorbing odors from the freezer.
- Can I use partially skimmed milk?
- I strongly advise against it for this recipe. Whole milk and cream with a high fat percentage are crucial for the creaminess and structure of the ice cream. Using low-fat ingredients would compromise the final result, making the ice cream less velvety and more prone to forming ice crystals.
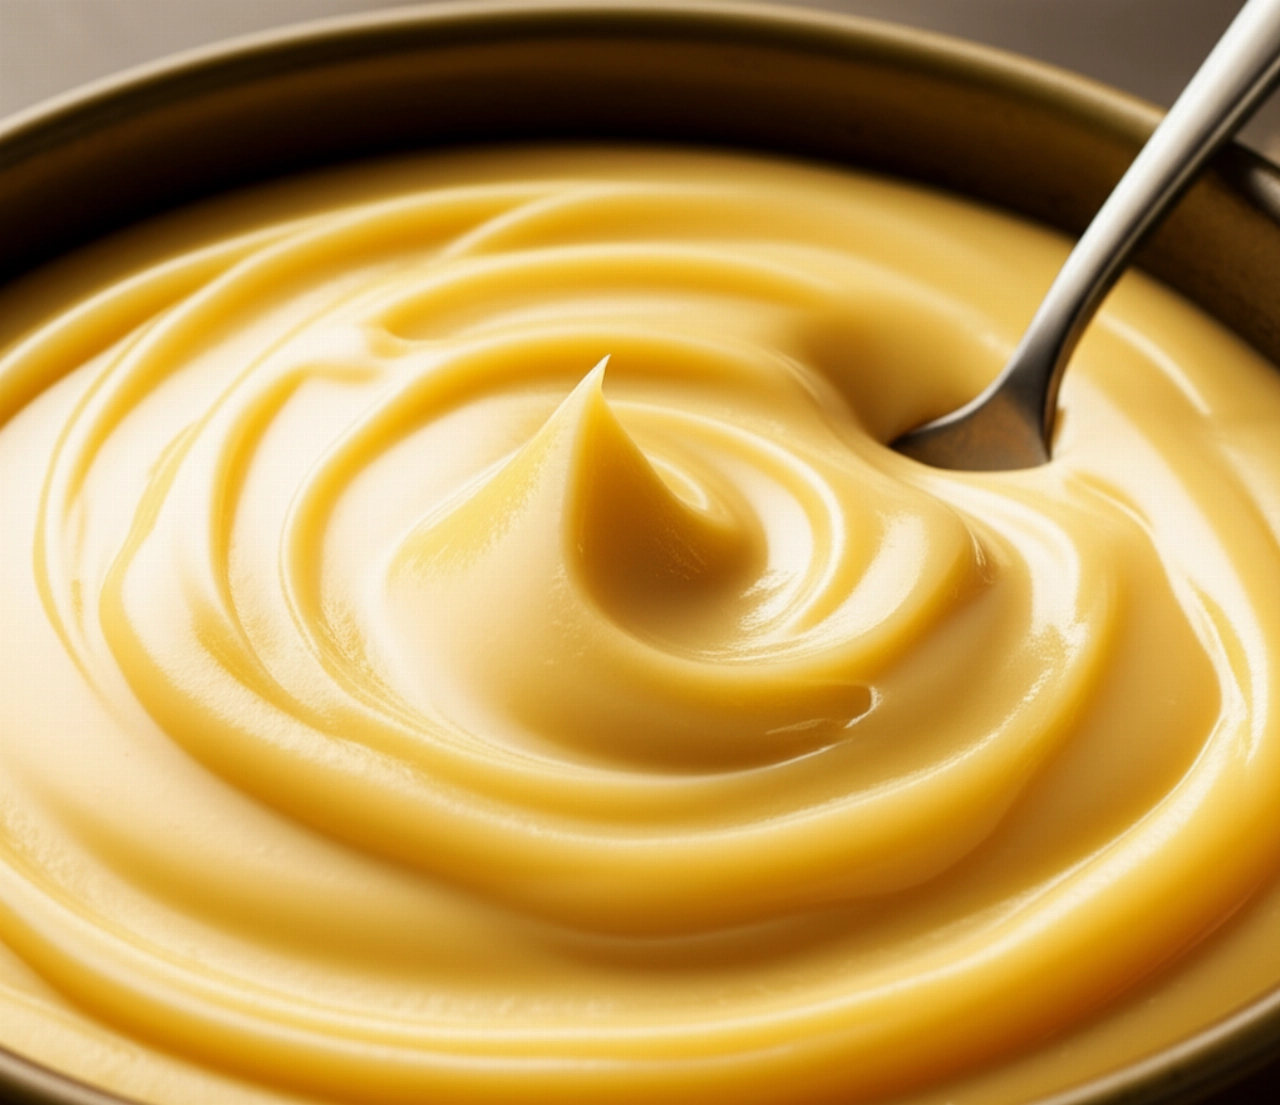
- What is the right consistency for the base before freezing?
- The base, after being cooked and cooled, should have a consistency similar to a light crème anglaise or a velouté. It should "coat" the back of a spoon; that is, if you run a finger across the spoon coated with cream, a clear line should remain. It should not be too thick (which would mean the yolks cooked too much) nor too liquid.
There you have it! Now you no longer just have a recipe, but all the secrets to bring to your table a homemade ice cream that tastes of summer, celebration, and love. A true masterpiece of creaminess and flavor that will delight both young and old.
Don't be afraid to experiment and make this process your own. Cooking is a gesture of creativity and generosity. Start with this solid base and you'll see that applause won't be lacking, and every spoonful will be a triumph of taste.
Have you tried our recipe? We're very curious to know how it went! Leave a comment below, tell us about your experience, or share a photo of your masterpiece on Instagram by tagging @CercaRicette.it. If you loved this ice cream, you can't miss our recipe for Original Tiramisu, another infallible classic, or for a perfect dessert like Easy Panna Cotta. Keep exploring the world of Search Recipes, where every dish is a guaranteed success!