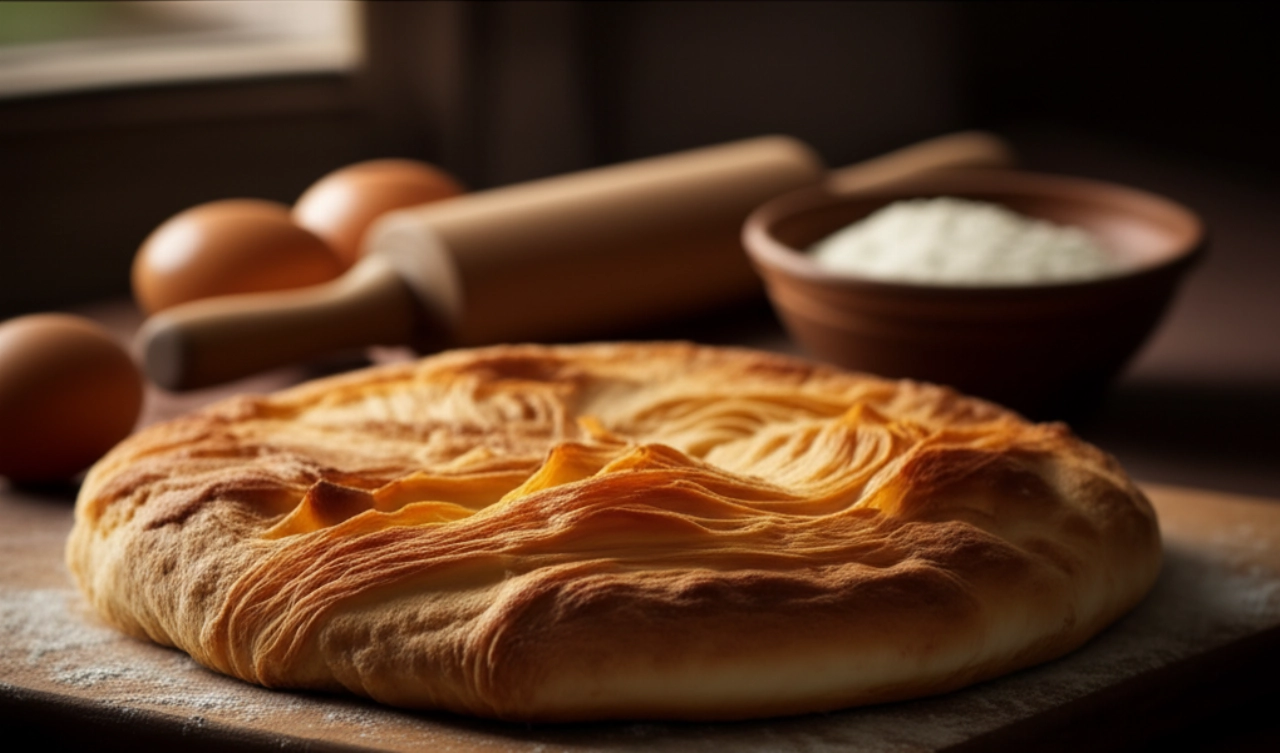
Dreaming of bringing to your table a Romagnola piadina so soft it melts in your mouth, with that unmistakable aroma that tastes of true Romagna? Imagine the dough stretching with ease, cooking in minutes, and embracing a generous filling, transforming every bite into a small culinary journey.
But how many times have you tried to make it and it turned out hard, dry, or flavorless? Finding the "true" recipe, the one handed down from generation to generation, seems like a challenge, amidst versions that use oil, incorrect measurements, or unclear steps.
Make yourself comfortable. On this page, you won't just find a list of ingredients, but the definitive guide, full of tricks and tips, to prepare the best Romagnola Piadina of your life. Success is guaranteed, and you'll feel like you're in Romagna, with the aroma of lard enveloping the kitchen and the irresistible softness of every bite. Here, you'll feel at home.
Ingredients for a Perfect Romagnola Piadina: The Choice That Makes the Difference
For a piadina that will make you say "Wow!", the quality of the ingredients is fundamental. It's not just a list, but a conscious choice that makes the difference between any piadina and the true Romagnola piadina.
- Quality 00 Flour: This is the base. Choose a weak flour (W 150-180) for an elastic and easy-to-work dough that doesn't shrink.
- Pure Pork Lard: This is the true secret, the soul of Romagnola piadina! Forget oil, lard gives that unmistakable softness, elasticity, and flavor that no other fat can provide. Don't be afraid of it, it's essential for authenticity.
- Lukewarm Water: Helps the lard melt better and the dough to bind more easily. It shouldn't be hot, just slightly lukewarm.
- Fine Salt: Balances the flavor and contributes to the dough's structure.
- Baking Soda (or a pinch of baking powder for savory cakes): A small trick to make the piadina even lighter and with those characteristic bubbles when cooked. It's not a baking yeast, but an agent that helps porosity.

The 3 Common Mistakes That Make Piadina Hard (and How to Avoid Them)
The fear of making mistakes is normal, but with these tips, your piadina will be a guaranteed success. Here are the most common mistakes and how to avoid them, born from years of kitchen experience:
- Using too little water or too much flour: A dough that's too stiff will be difficult to roll out, and the piadina will turn out dry. The dough should be soft and elastic, almost sticky at first, but not overly so. Add flour gradually.
- Substituting lard with oil: Although oil might seem like a "lighter" alternative, it will never give the piadina the same softness, elasticity, and authentic flavor as lard. For true Romagnola piadina, lard is indispensable.
- Cooking too long or at too high/low heat: Piadina cooks quickly. Too high heat will burn it outside while leaving it raw inside, too low will dry it out. The griddle must be very hot, but cooking should only last a few minutes per side, until the classic bubbles and some golden spots appear.
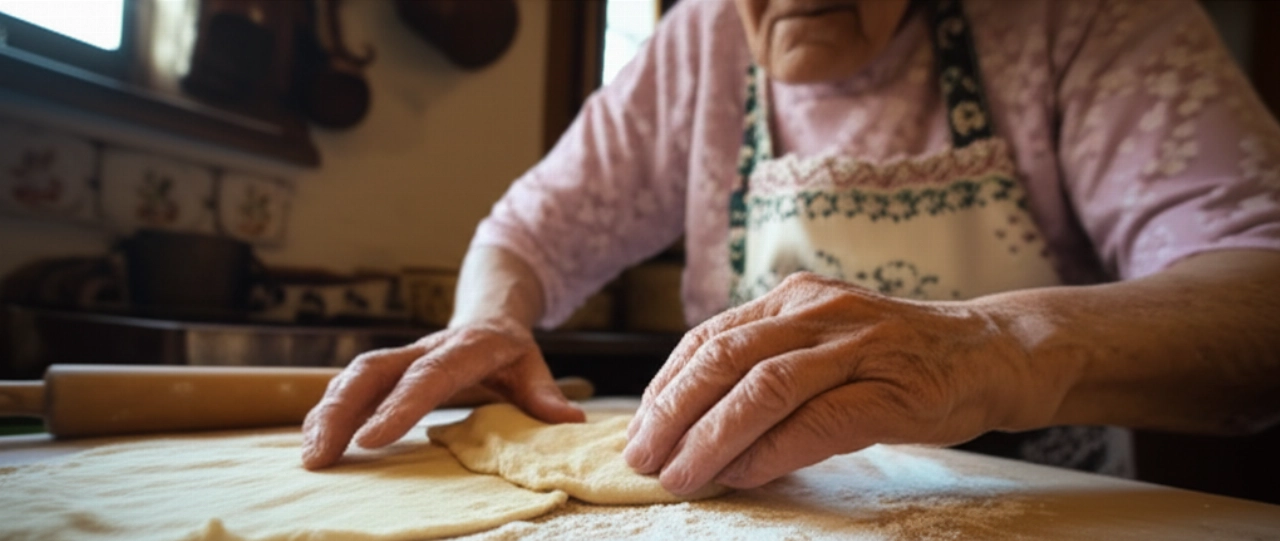
The Magic Touch: The Advice My Romagnola Grandmother Passed Down to Me
My grandmother, a true piadina master, always told me: "Piadina requires patience and love, just like grandchildren!". Her secret wasn't a secret ingredient, but a fundamental step many skip: dough resting.
After kneading, divide the dough into balls and let them rest covered with a damp cloth for at least 30 minutes, or even better, for an hour at room temperature. This time allows the gluten to relax, making the dough incredibly elastic and easy to roll out, without shrinking. This is the trick for a piadina that rolls out almost by itself and remains soft even after cooking.
Let's Prepare Romagnola Piadina Together: The Step-by-Step Guide
Now that you know the secrets, let's get cooking! Follow these steps and success is guaranteed.
Ingredients:
- 500 g 00 flour
- 80-100 g pork lard (at room temperature)
- 150-180 ml lukewarm water
- 10 g fine salt
- 1/2 teaspoon baking soda (or a pinch of baking powder for savory cakes)
Tools:
- Large bowl
- Pastry board or work surface
- Rolling pin
- Romagnolo griddle or heavy non-stick pan
Instructions:
- Prepare the dough: On a pastry board, arrange the flour in a well. In the center, add the diced lard, salt, and baking soda. Begin kneading with your fingertips, incorporating the lard into the flour.
- Add water: Pour in the lukewarm water gradually, little by little, kneading vigorously until you obtain a smooth, homogeneous, and elastic dough. It should be soft, but not sticky. If necessary, add a pinch of flour or water.
- Let it rest: Divide the dough into 6-8 balls (about 100-120 g each). Cover them with a damp cloth or plastic wrap and let them rest at room temperature for at least 30-60 minutes. This step is crucial for softness!
- Roll out the piadinas: Take one ball at a time. Lightly flour the pastry board and rolling pin. Roll out each ball with the rolling pin, starting from the center outwards, until you get a thin disk (about 2-3 mm thick) and about 20-25 cm in diameter. It shouldn't be too thin, otherwise it will dry out.
- Cook the piadina: Heat a Romagnolo griddle or a heavy non-stick pan very well (without adding any fat). When it's very hot, place one piadina at a time.
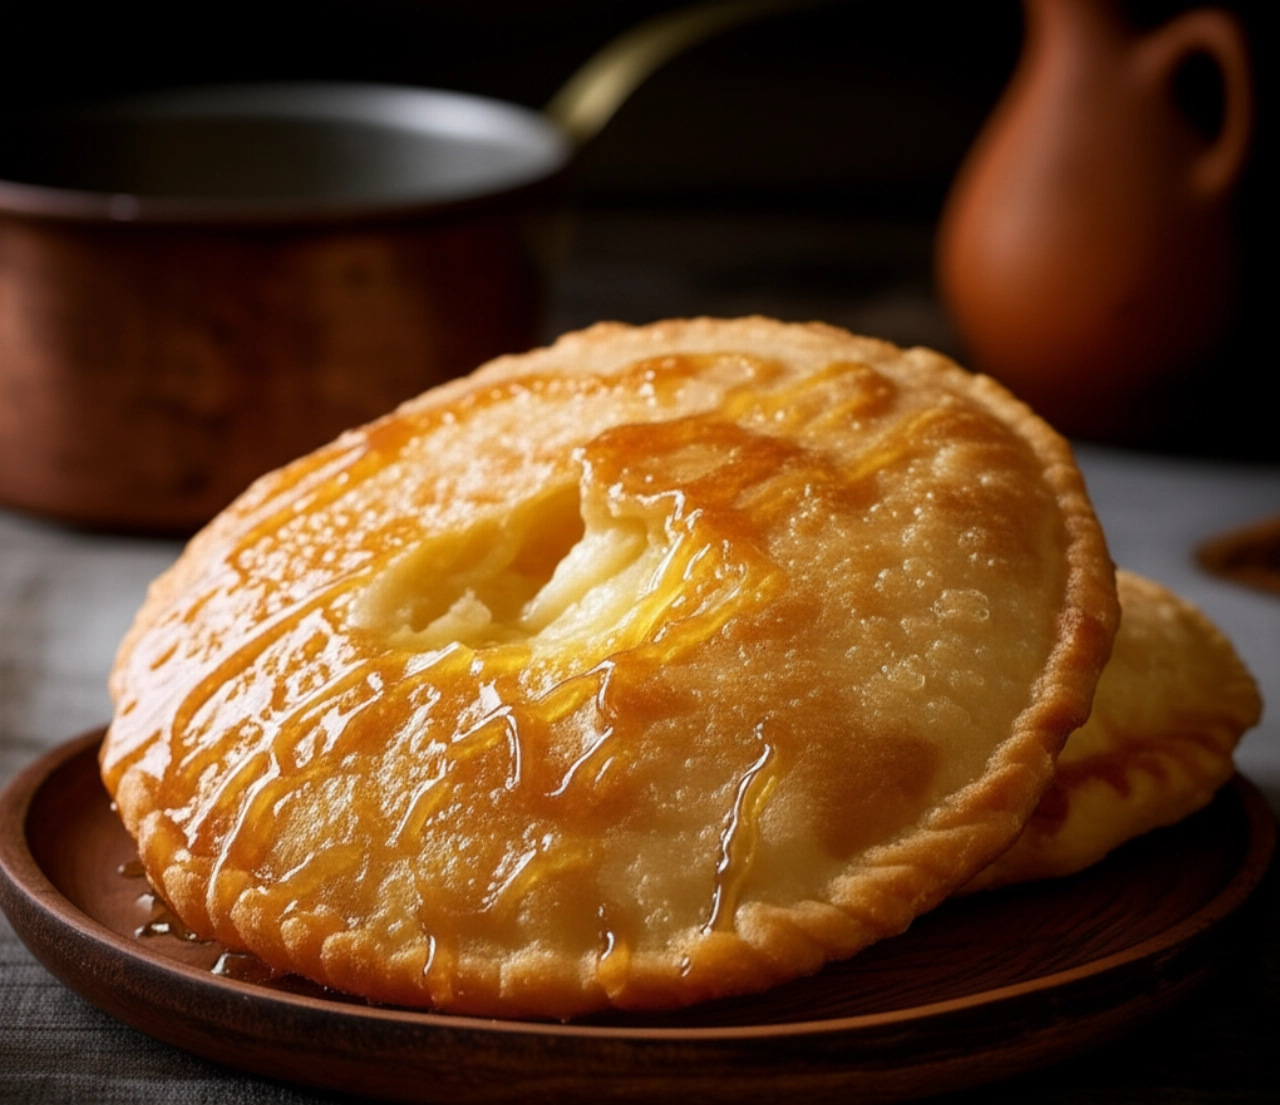
- Flip and prick: Cook for about 1-2 minutes per side, or until the classic bubbles and some golden spots appear on the surface. During cooking, you can prick the bubbles with a fork to prevent them from puffing up too much.
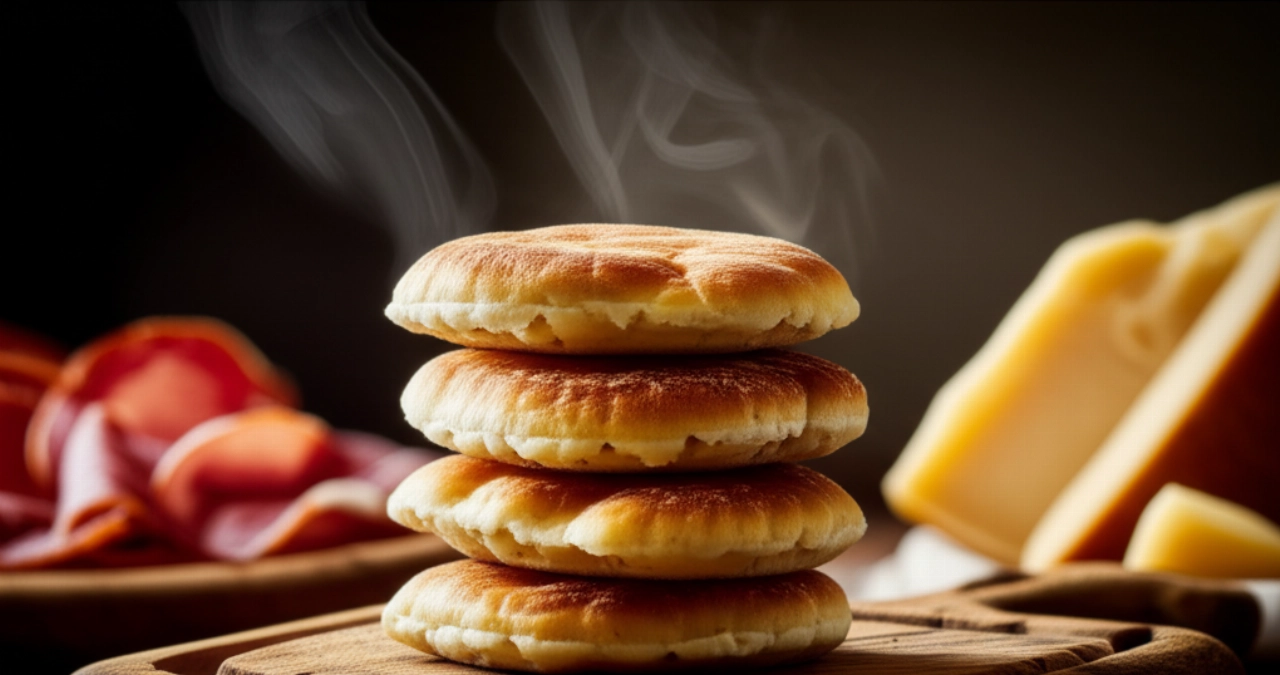
- Serve immediately: As soon as it's cooked, the piadina is ready to be filled and enjoyed. Serve it hot, it's the best time to appreciate its softness and aroma.
Tips and Frequently Asked Questions about Romagnola Piadina
Here are some of the most common questions I get asked about piadina. I hope they are helpful!
- Can I use oil instead of lard?
- Tecnicamente sì, puoi, ma il risultato non sarà la vera piadina romagnola. L'olio non conferisce la stessa morbidezza, elasticità e sapore caratteristico. Se vuoi l'autenticità, usa lo strutto.
- How do I store leftover piadina?
- If you have any cooked piadina leftover, you can store it wrapped in a clean cloth or plastic wrap at room temperature for one day, or in the refrigerator for 2-3 days. To reheat it, quickly pass it over a hot pan.
- Can I freeze the dough or cooked piadinas?
- Absolutely yes! You can freeze the raw dough balls, well wrapped in plastic wrap, for one month. Thaw them in the fridge and then at room temperature before rolling them out. You can also freeze cooked piadinas, placing a sheet of parchment paper between each one, and heat them directly from frozen in a pan.
- Why does my piadina break when I roll it out?
- This usually happens for two reasons: the dough hasn't rested enough (the gluten is too tense) or it's too stiff (too little water/too much flour). Make sure to respect the resting times and that the dough is soft and elastic.
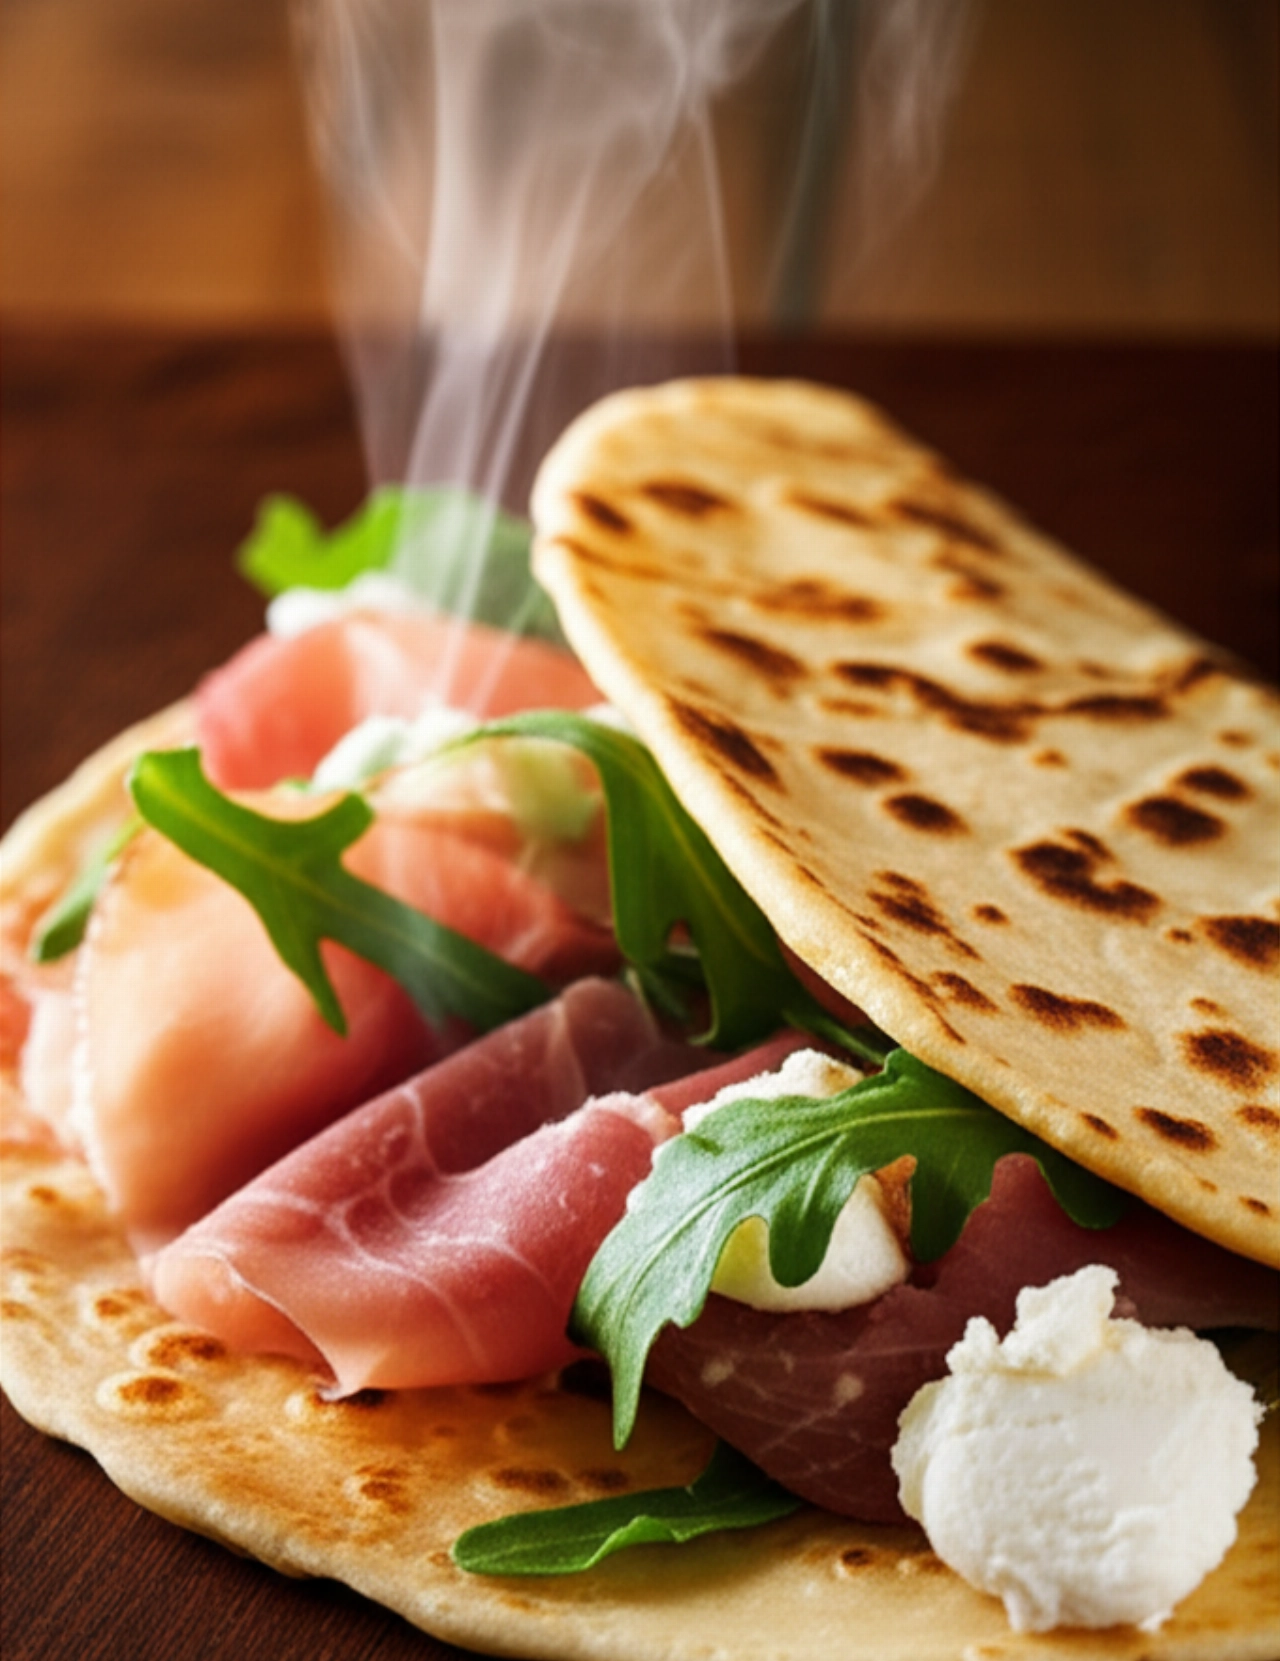
- What is the traditional filling for Romagnola piadina?
- The most classic fillings are with squacquerone cheese, arugula, and prosciutto crudo, or with sausage and onion. But piadina is versatile: you can fill it with grilled vegetables, various cheeses, cured meats, or even with Nutella for a sweet version!
There you have it! Now you no longer just have a recipe, but all the secrets to bring to your table a Romagnola Piadina that tastes of home, tradition, and love. A simple dish, but one that encapsulates the soul of Romagna.
Don't be afraid to experiment. Cooking is an act of creativity and sharing. But start from this solid and infallible base, and you'll see that applause won't be lacking. Your piadina will be a masterpiece of softness and authentic flavor.
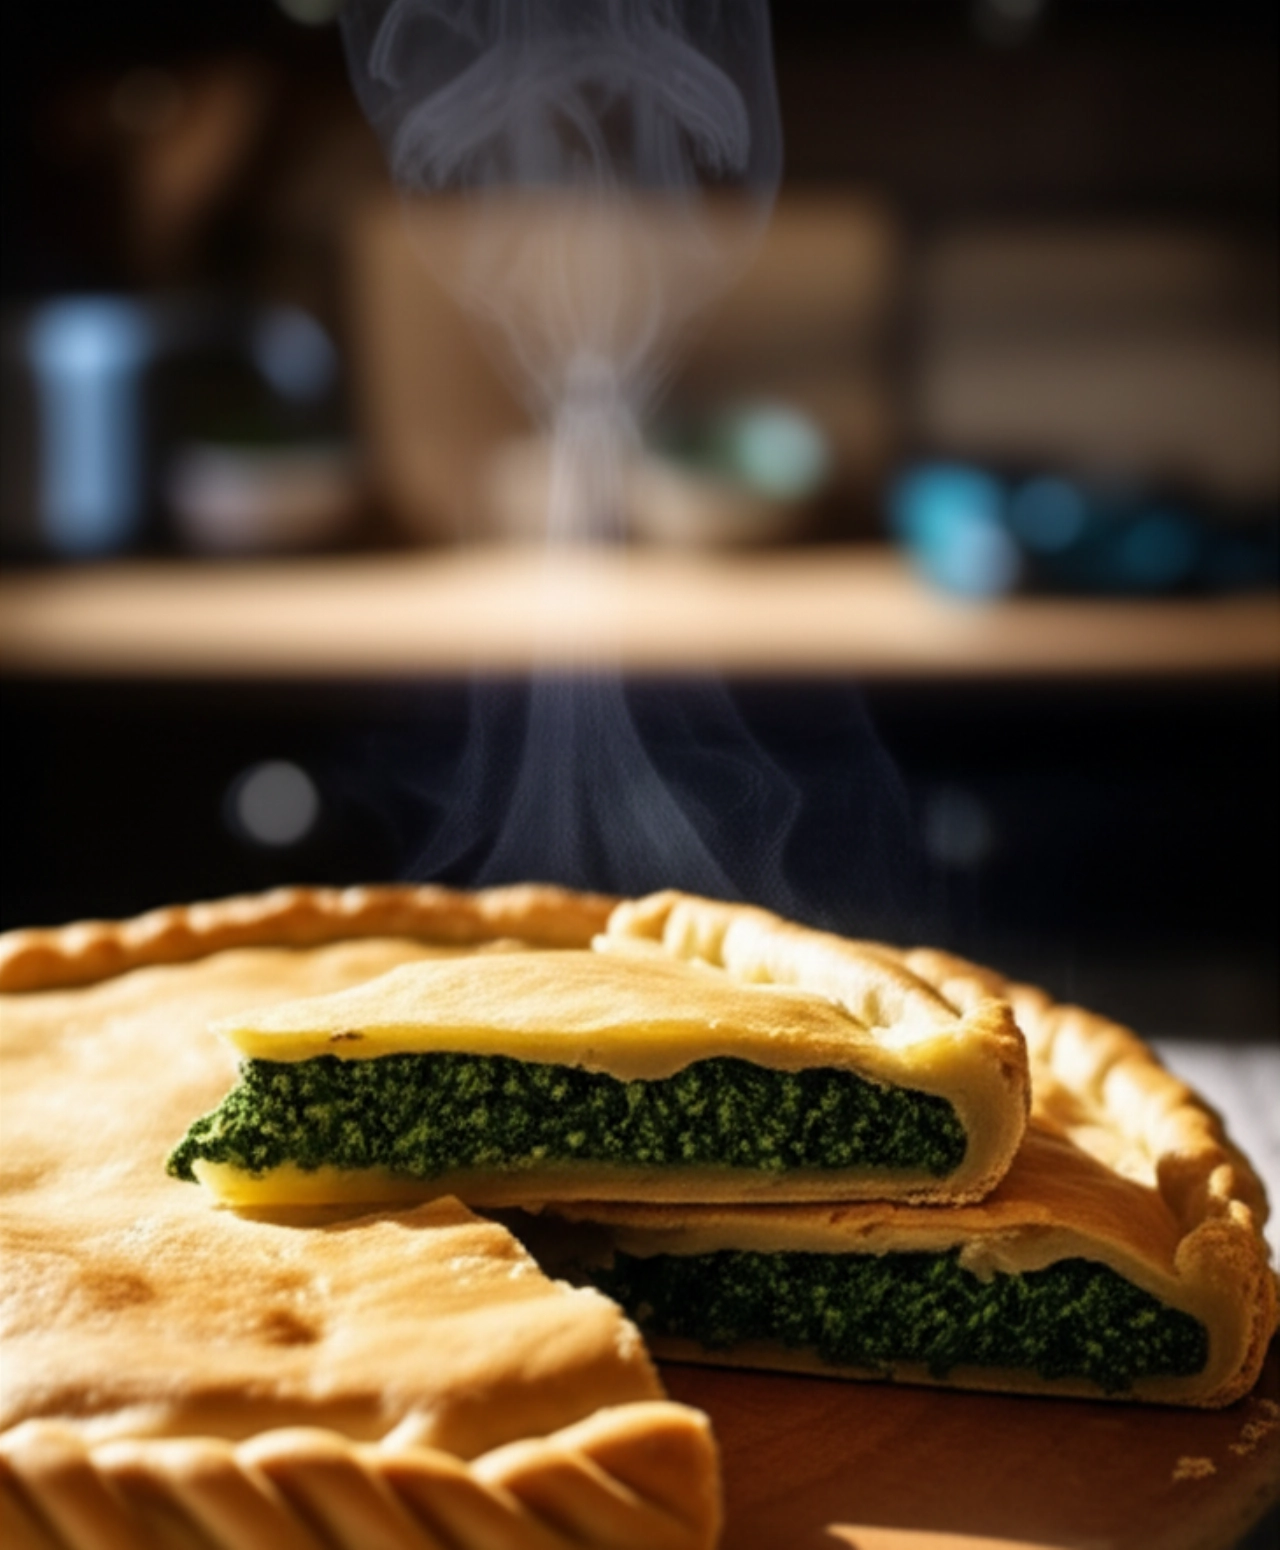
Have you tried our recipe? We're very curious to see your masterpiece! Leave a comment below, tell us how it went, or share a photo on Instagram by tagging @CercaRicette.it. If you loved this piadina, you can't miss our recipe for Herb Crescione, another Romagnola delight, or for a perfect filling like Homemade Squacquerone.