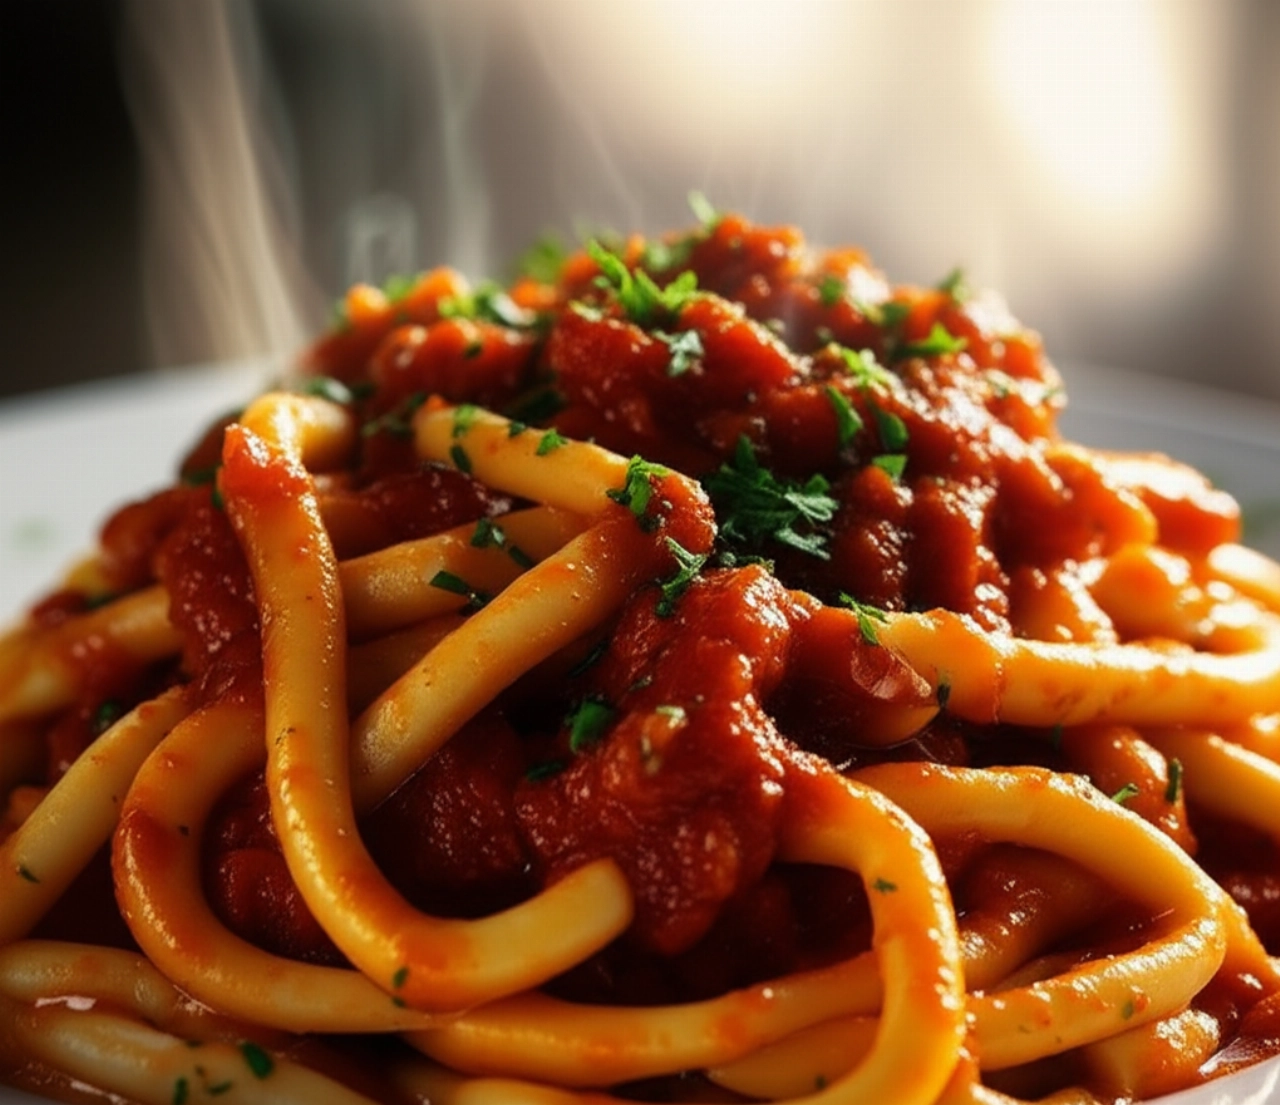
Dreaming of bringing to your table a fresh pasta dish that smells of Tuscany, with those thick, irregular strands, of unique consistency, capable of embracing any sauce? Homemade pici are a true masterpiece of simplicity and flavor, a symbol of peasant cuisine that wins you over at the first taste.
But let's face it, the idea of kneading and 'pici-making' by hand can seem like a titanic undertaking. How many times have you tried, ending up with hard, gummy pici or ones that break during cooking? Finding the right recipe, one that reveals the true secrets of a Tuscan grandmother, seems almost impossible, right?
Make yourself comfortable, because on this page you won't just find a list of ingredients. I'll guide you step by step, with all the tricks and tips that only experience can provide, to prepare the best and most authentic homemade pici of your life. I promise you pasta with an elastic and velvety texture, perfect for any sauce. Success is guaranteed, and your table will transform into a corner of true Tuscany!

Smart Ingredients: The Magic of a Few Carefully Chosen Elements
For pici, their beauty lies in their essentiality. No eggs are needed, nor complex ingredients. Just two elements, but chosen and treated with wisdom, will make the difference between a good dish and a masterpiece.
Here's what you need for guaranteed success:
- Soft wheat flour type "00" (or "0"): This is the base. "00" will give you a softer, easier-to-work dough, ideal for beginners. If you want a more rustic flavor and a slightly chewier texture, you can opt for a "0" type flour or even a mix. The important thing is that it's good quality, because its flavor will be fully noticeable!
- Lukewarm water: Not hot, not cold. Lukewarm water helps the flour hydrate better and develop gluten optimally, making the dough elastic and easy to roll. It's the secret to avoiding gummy or breaking pici.
- A pinch of salt: To enhance the pasta's flavor. Don't overdo it, salt is a friend, not a protagonist.
- Extra virgin olive oil (optional, but recommended): A drizzle in the dough can help make it smoother and more pliable, and add an extra touch of flavor. It's not in the purest traditional recipe, but it's a small trick that will make your life easier.
The 3 Mistakes to Avoid for Perfect Pici (and How to Avoid Them)
Preparing pici is a simple art, but like any art, it has its small pitfalls. Don't worry, I'm here to reveal the most common mistakes, so you can avoid them and go straight to success!
- Dough too hard or too soft: If the dough is too hard, you'll have immense difficulty rolling the pici and they'll turn out dry. If it's too soft, they'll stick and be impossible to work with. The right consistency is elastic, soft but not sticky. Add water or flour one tablespoon at a time, until you feel the perfect consistency under your hands. It's a matter of 'feeling', and you'll develop it soon!
- Not letting the dough rest: This is a crucial mistake! After kneading, the gluten needs to relax. If you don't let it rest, the dough will be difficult to roll out and the pici will break. Cover it with plastic wrap or a damp cloth and let it rest for at least 30 minutes at room temperature. This step is fundamental for the final elasticity.
- Not flouring the work surface well (or overdoing it): A well-floured surface is essential to prevent the pici from sticking while you roll them. But be careful not to overdo it with flour, otherwise the pici will turn out sticky or, conversely, too dry and will break. A light and even dusting is key.

Grandma's Secret: The Magic of Hands and Tuscan Patience
My grandmother, when she prepared pici, always said it wasn't just flour and water, but also 'love and patience'. And she was right! The true secret of pici isn't in a mysterious ingredient, but in the manual skill and time you dedicate to kneading and 'rolling'.
I remember her expert hands working the dough with incredible delicacy and strength, almost dancing on the pastry board. She used to tell me: 'Don't rush, feel the dough, it speaks to you.' And then, when she started 'pici-making', each strand was a small masterpiece, irregular and unique. Her trick? Don't pull the pici with too much force, but with a delicate and constant movement, almost caressing them, so as not to stress the dough and obtain that elastic and slightly porous consistency that absorbs the sauce divinely. It's a meditative gesture, almost a cuddle for the pasta.
Let's Prepare Homemade Pici Together: The Step-by-Step Guide
Now that you know all the secrets, it's time to get your hands dirty! Follow these steps and you'll be proud of the result.
Ingredients (for 4 people):
- 400 g soft wheat flour type "00" (or "0")
- About 200 ml lukewarm water (you might need a little more or less)
- A pinch of fine salt
- 1 tablespoon extra virgin olive oil (optional)
- Durum wheat semolina flour for the pastry board (or "00")
Tools:
- Wooden pastry board (ideal!) or clean work surface
- Plastic wrap or damp cloth
- Knife or dough scraper
Method:
- Prepare the dough:
- On a clean pastry board, pour the flour into a fountain shape, creating a well in the center.
- In the well, add the pinch of salt and oil (if using). Start pouring the lukewarm water little by little, mixing with a fork from the center outwards, gradually incorporating the flour.
- When the dough starts to take shape, work it with your hands. Knead vigorously for at least 10-15 minutes, pushing with the palm of your hand and folding the dough over itself. You should obtain a smooth, elastic, and homogeneous ball that doesn't stick to your hands. If it's too hard, add a teaspoon of water; if too soft, a teaspoon of flour.
- The Essential Rest:
- Once ready, form the dough into a ball. Lightly grease it with a drizzle of oil (or dust it with a little flour) and wrap it well in plastic wrap or cover it with a damp cloth.
- Let the dough rest at room temperature for at least 30-40 minutes. This step is crucial to allow the gluten to relax and make the dough more elastic and easier to work with.
- Shape the Pici (the art of 'pici-making'):
- After the resting time, take the dough and roll it out with a rolling pin on a lightly floured pastry board, until you get a sheet about 3-4 mm thick. It shouldn't be too thin, pici are rustic!
- With a knife or dough scraper, cut strips of dough about 0.5-1 cm wide.
- Now comes the fun part: the 'rolling'. Take one strip at a time and, with the palms of your hands, start rolling it on the pastry board, applying a light pressure and gently stretching it. The movement should be from the center outwards, thinning the picio until you get an irregular "worm", about 20-30 cm long and as thick as a large spaghetti or bucatino. They don't have to be perfect, their beauty lies precisely in their irregularity!
- As you form them, arrange the pici on a tray or baking sheet well floured with durum wheat semolina (or "00" flour) to prevent them from sticking. Cover them with a clean cloth to prevent them from drying out.
- Perfect Cooking:
- Bring plenty of salted water to a boil in a large pot.
- Drop the pici into the boiling water. Being fresh pasta, they will cook quickly. Cooking time varies depending on the thickness, but usually 3-5 minutes from when they float to the surface is enough. Always taste to check for al dente!
- Drain the pici and toss them directly into your chosen sauce.
Traditional Sauce Suggestions: The Perfect Pairing
Pici are versatile and pair divinely with many sauces. Here are some of the most traditional and beloved:
- Pici all'Agliata: A Tuscan classic. A simple but flavorful sauce based on garlic, tomato, and chili pepper. Its simplicity enhances the rustic flavor of the pici.
- Pici Cacio e Pepe: A Tuscan variation of the famous Roman dish. Creamy, flavorful, a true comfort food.
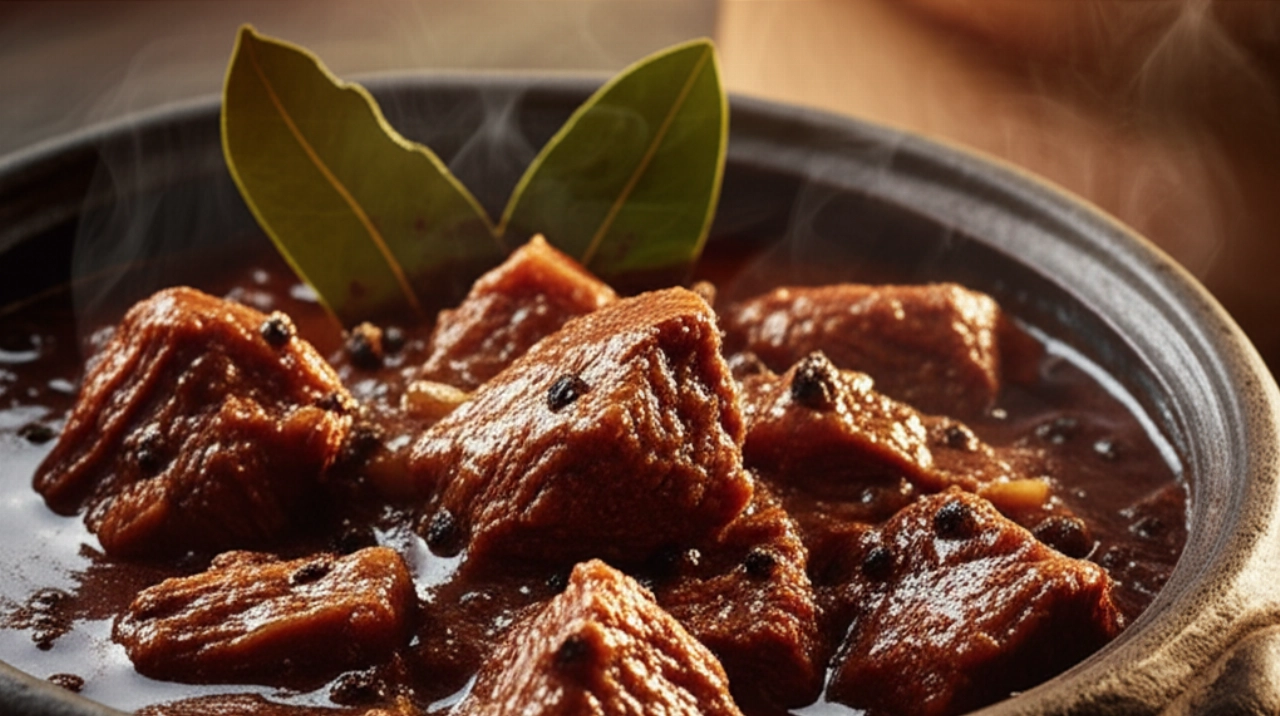
- Pici with Chianina Ragù: For meat lovers, a rich and slow-cooked ragù that clings perfectly to the pici's texture.
- Pici alle Briciole: A humble but very tasty sauce, with toasted stale bread and garlic. Perfect for a touch of crunch.
Tips and Frequently Asked Questions about Homemade Pici
I know you might still have some doubts. Here are the answers to the most common questions, to clear up any uncertainty!
- Can I use other types of flour? Yes, you can experiment! Durum wheat semolina flour, for example, will give a chewier and rougher picio, ideal for robust sauces. You can also make a mix of flours to find your preferred consistency. The important thing is that the flour is of good quality.
- How long do raw/cooked pici keep? Raw pici, well floured and arranged on a tray, can be stored in the refrigerator for 1-2 days, covered with a clean cloth. If cooked, consume them immediately to enjoy their freshness.
- Can I freeze pici? Absolutely yes! Arrange the well-floured raw pici on a tray without them touching and place them in the freezer for about an hour, until they are solid. Then transfer them to freezer bags. They will keep for 2-3 months. When you want to cook them, drop them directly into boiling water from frozen, without thawing.
- Why do my pici break during cooking? This is often a sign of dough that is too dry or not sufficiently rested. Make sure you have kneaded for a long time to develop the gluten well and that you have respected the resting time. Overly vigorous cooking can also contribute.
- What is the traditional sauce for pici? The most iconic sauce is Agliata, a simple sauce based on garlic, tomato, and chili pepper. But Chianina ragù or Pici Cacio e Pepe are also very common and loved in Tuscany.
There you have it! Now you no longer just have a recipe, but all the secrets to bring to your table a dish of homemade pici that tastes of tradition, skilled hands, and love. A true Tuscan embrace that will win everyone over.
Don't be afraid to experiment and trust your hands. Cooking is a gesture of creativity and sharing. Start from this solid base and you'll see that applause and 'Oh my, how good!' won't be lacking.
Have you tried our recipe? We're very curious to see your masterpiece! Leave a comment below, tell us how it went, or share a photo on Instagram by tagging @CercaRicette.it. If you loved these pici, you can't miss our recipe for Tuscan Agliata Sauce, the perfect pairing, or our guide on How to make fresh egg pasta for other culinary adventures!