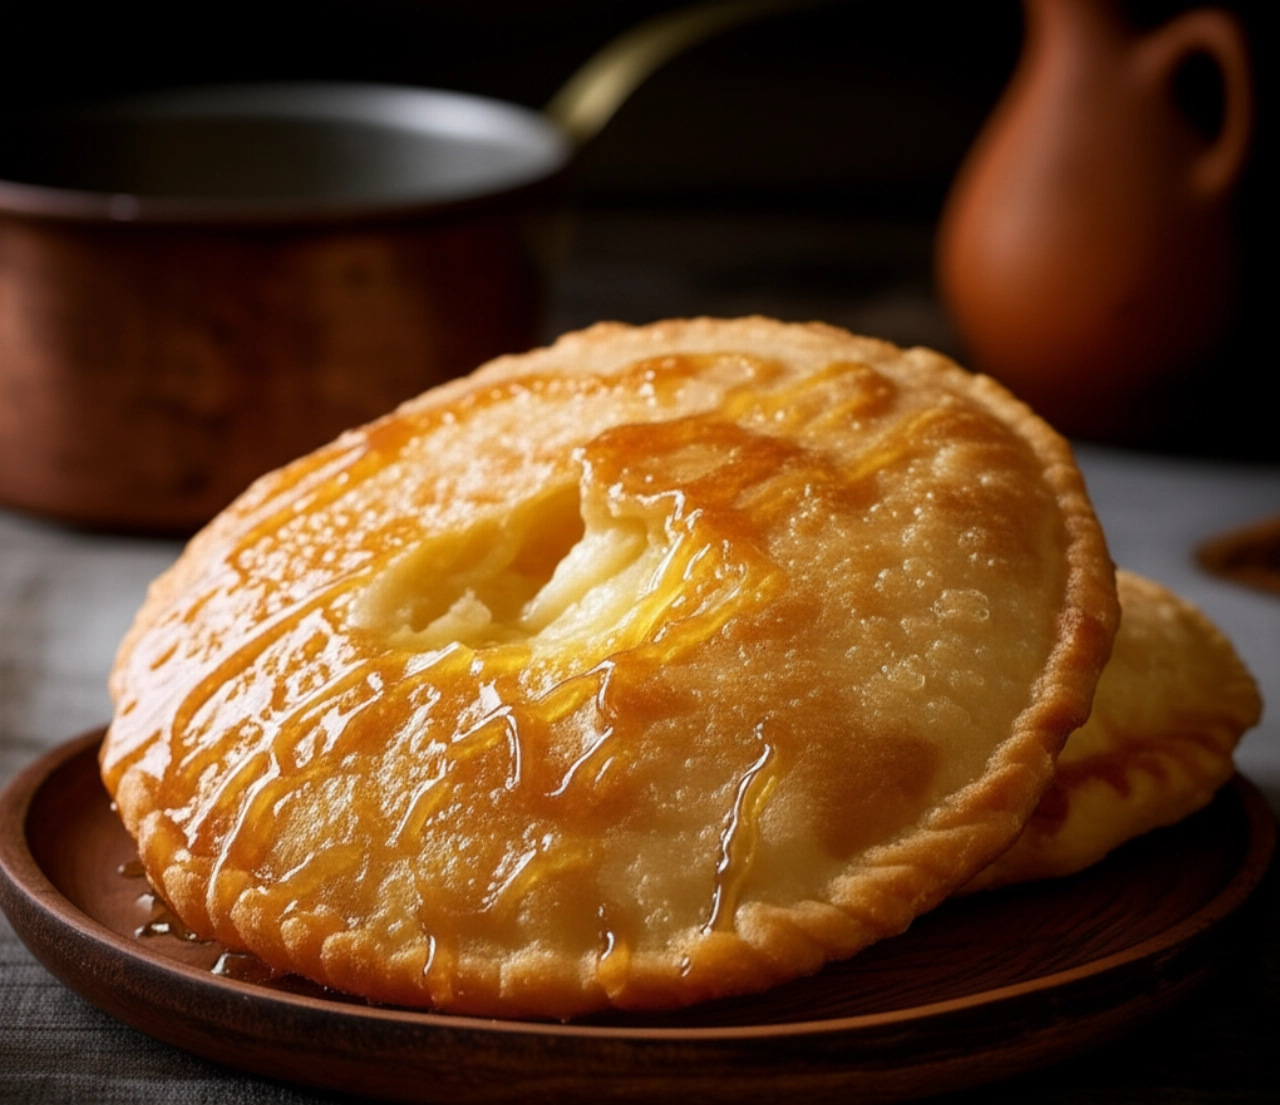
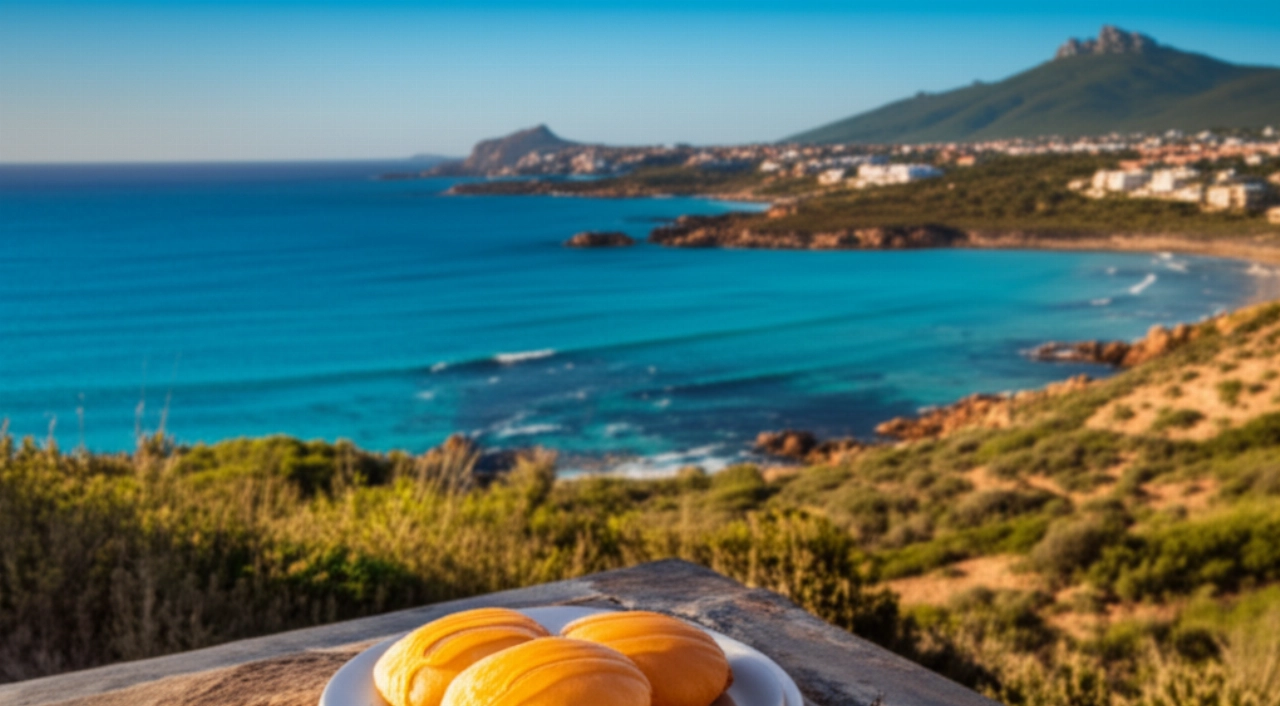
Do you dream of closing your eyes and smelling the unmistakable scent of Sardinia, that aroma of warm honey and melted cheese that only Seadas can offer? That fried pastry, crispy on the outside with a soft, gooey heart, is more than just a recipe: it's an embrace, a piece of history, a sensory experience that transports you directly to the island.
But too often, when trying to replicate this magic at home, there's a fear that the pastry won't be crispy, that the cheese will leak out during cooking, or that the final result won't live up to expectations. Finding the true recipe, one that makes you feel at home and guarantees success, can seem like an insurmountable challenge.
Make yourself comfortable. On this page, you won't just find a list of ingredients, but the definitive guide, full of tricks and tips, to prepare the most authentic and delicious Seadas of your life. Success is guaranteed, and you'll feel like a true guardian of Sardinian tradition, ready to amaze everyone with a culinary masterpiece.
Smart Ingredients: The Choice That Makes a Difference for Your Seadas
To achieve Seadas that will make you exclaim "Wow!", the quality and choice of ingredients are fundamental. It's not just about listing them, but understanding the 'why' behind each single element. Here's what you need for an impeccable result:
- Fine durum wheat semolina: This is the base of our pastry. Unlike 00 flour, semolina gives the dough greater elasticity and, once fried, an unparalleled crispiness and those air bubbles that make Seadas so characteristic. Don't settle for less!
- Lard: This is the true secret to the softness and fragrance of the pastry. Lard, both in the dough and for frying, imparts a flavor and texture that oil cannot replicate. If you've never used it, trust me: it makes all the difference!
- Lukewarm water: Used to activate the semolina and make the dough more workable. It should be neither too hot (it would cook the semolina) nor too cold (it would slow down the process).
- Salt: A pinch to balance the flavors and give character to the dough.
- Cheese for Seadas: Here lies the heart of the pastry. Traditionally, a fresh, slightly acidic sheep's cheese is used, such as fresh Sardinian Pecorino (not aged!). Alternatively, you can opt for a mix of fresh cow's cheese (like primo sale) and a bit of well-drained fresh ricotta. The important thing is that it's a cheese that melts well but maintains a certain consistency, without releasing too much water.
- Lemon (or orange) zest: Finely grated, it gives the filling a citrusy aroma that pairs divinely with the cheese and honey, elevating the overall flavor.
- Honey: The essential final touch. Strawberry tree honey is the most traditional in Sardinia, with its slightly bitter aftertaste that perfectly balances the sweetness of the cheese and pastry. Alternatively, a good quality wildflower honey will still be excellent.
3 Common Mistakes That Can Ruin Your Seadas (and How to Avoid Them)
Even the most experienced can run into some snags. But don't worry, I'm here to reveal the most common mistakes and how to avoid them, guaranteeing you a result worthy of applause:
- Dough too hard or too soft: If the dough is too hard, the pastry will be difficult to roll out and, once fried, will be rubbery. If it's too soft, it will stick everywhere and be difficult to work with. The secret is to achieve the right consistency: it should be elastic, smooth, and not sticky. Add water little by little and work until you feel the right consistency under your hands.
- Cheese too wet or unsuitable: Cheese that releases too much water during cooking will make your Seadas "explode," causing the filling to leak out and ruining the frying. Make sure to use fresh but well-drained cheese. If using ricotta, press it well to remove excess water. And remember: aged cheese is not suitable, it won't melt correctly!
- Incorrect oil temperature: This is crucial for crispiness. If the oil is too cold, the Seadas will absorb too much fat and become greasy and heavy. If it's too hot, they will burn on the outside before the cheese melts inside. The ideal temperature is around 170-175°C. Use a kitchen thermometer or test with a small piece of dough: it should float to the surface immediately and brown in a few seconds.
Grandma's Secret: The Magic Touch for Unforgettable Seadas
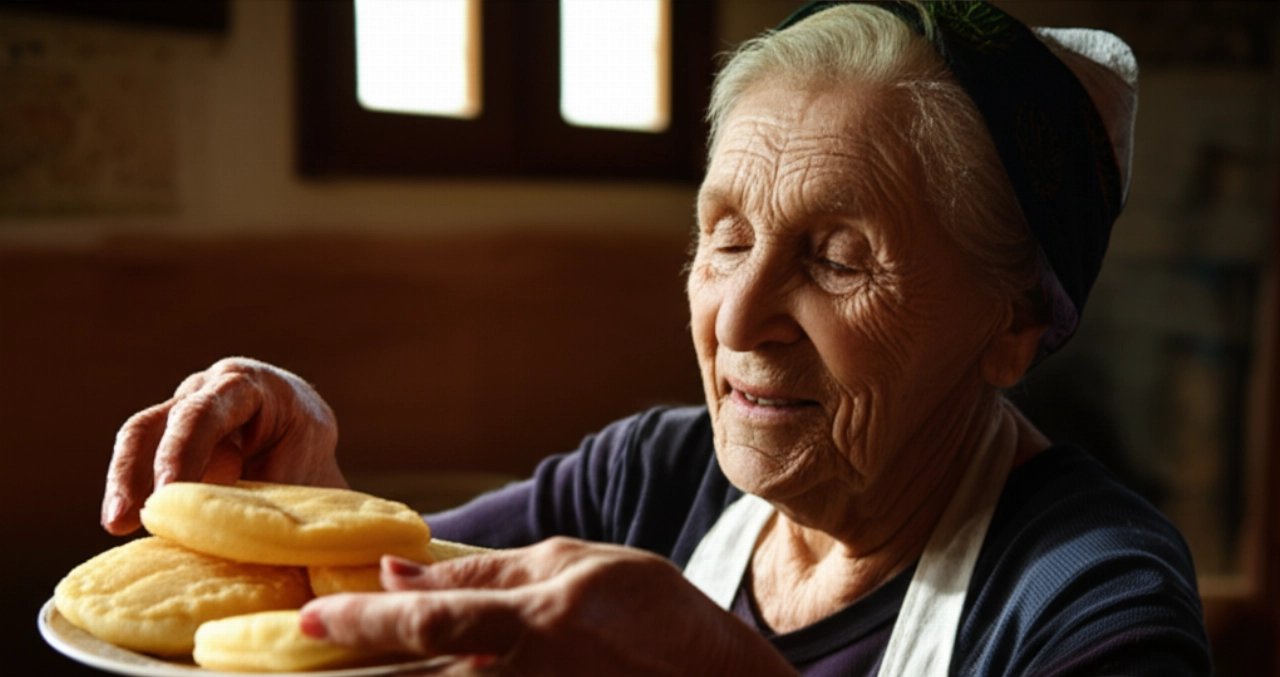
I still remember my grandmother, with floury hands, preparing Seadas. It wasn't just a matter of ingredients, but of a handed-down art. She always said that the true secret to a perfect Seadas lay in "feeling" the dough. It shouldn't be worked for too long, but with determination, until it became smooth and silky, almost "alive" under the fingers.
Another one of her tricks, known by few, was to leave the grated cheese at room temperature for at least half an hour before mixing it with the lemon zest. This allowed the cheese to soften slightly, making the filling creamier and more homogeneous, and ensuring a perfect melt during cooking without hardening or separating.
And for frying? "Don't rush," she would tell me. "Every Seadas has its time. It must brown slowly, puff up like a cloud, and only then is it ready to be drained and dipped in honey." These small gestures, these attentions, are what transform a simple recipe into a masterpiece that tastes of home and tradition.
Let's Prepare Seadas Together: The Step-by-Step Guide to a Sardinian Masterpiece
Now that you know all the secrets, it's time to get to work. Follow these steps carefully and success will be guaranteed. I'll guide you step by step, as if I were right beside you in the kitchen.
For the Dough (the Pastry):
- Prepare the dough: On a pastry board, pour 500g of fine durum wheat semolina, form a well in the center. Add 50g of soft lard at room temperature and a pinch of salt. Begin kneading, gradually adding about 200-220ml of lukewarm water. Work vigorously for at least 10-15 minutes, until you obtain a smooth, elastic, and homogeneous dough. It should not stick to your hands.
- Let it rest: Form the dough into a ball, wrap it in plastic wrap, and let it rest at room temperature for at least 30 minutes (an hour is better). This will allow the gluten to relax, making the pastry easier to roll out.
For the Filling:
- Prepare the cheese: Finely grate 500g of fresh cheese for Seadas (fresh Sardinian Pecorino or your chosen mix). Transfer it to a bowl.
- Flavor: Add the grated zest of an untreated lemon (or orange) to the cheese. Mix well with your hands, combining the ingredients. If the cheese is too compact, you can gently warm it in a double boiler or a saucepan over very low heat to soften it, but be careful not to cook it.
Assembling the Seadas:
- Roll out the pastry: Take the dough again and divide it into two or three parts to make it easier to work with. Using a rolling pin (or a pasta machine), roll out each portion on a pastry board lightly floured with semolina. You need to obtain a thin pastry, about 2-3 millimeters thick. The pastry should be uniform.
- Fill: In the center of half of the discs, place a small mound of cheese filling (about a heaping tablespoon). Don't overfill, otherwise the cheese might leak out.
- Seal: Cover each filled disc with another dough disc. Gently press with your fingers around the filling to remove air and make the two layers of dough adhere well. Then, with a fluted pastry wheel (the one for ravioli is perfect) or a fork, cut and seal the edges, creating the classic half-moon or disc shape with a decorative edge. Make sure they are well sealed to prevent the cheese from leaking out during frying.
Frying and Serving:
- Heat the lard (or oil): In a large, deep pan, heat abundant lard (or peanut oil, if you prefer a lighter alternative, but lard is tradition!) until it reaches the ideal temperature of 170-175°C.
- Fry the Seadas: Immerse the Seadas a few at a time, without crowding the pan. Fry for about 2-3 minutes per side, or until they are golden brown and the pastry shows those characteristic air bubbles.
- Drain and serve: With a slotted spoon, drain the Seadas and place them on absorbent paper to remove excess grease. Serve them immediately, still hot, generously drizzled with your chosen honey. A true delight for the palate!
Tips and Frequently Asked Questions about Seadas
It's normal to have doubts! Here are the answers to the most common questions you might ask yourself while preparing your Seadas:
Can I use another type of cheese?
Tradition calls for fresh, acidic Sardinian Pecorino. If you can't find it, you can try a fresh cow's milk stretched-curd cheese (like fresh caciotta) or a mix of well-drained sheep's ricotta and a slightly savory fresh cheese. The important thing is that it's not too aged and that it melts well without releasing too much water.
Can they be baked instead of fried?
Technically yes, but the result won't be the same. Baked Seadas will lose that crispiness and characteristic bubbling typical of frying in lard. If you absolutely must, brush them with a little melted lard and bake them at 180°C until golden, but know that it won't be the true traditional Seadas.
How can I store Seadas?
Seadas are best consumed freshly fried. If you have leftovers, you can store them at room temperature for one day or in the refrigerator for 2-3 days, but the pastry will lose its crispiness. You can briefly reheat them in the oven to melt the cheese again, but they won't be like freshly made.
Why did my cheese leak out during frying?
There are two main reasons: either the cheese was too wet and released steam that broke the pastry, or the edges of the Seadas were not sealed correctly. Make sure to press the edges well and use a fluted pastry wheel for a clean cut and effective sealing.
Can I prepare the dough and filling in advance?
Yes, the dough can be prepared the day before and stored in the refrigerator, well wrapped in plastic wrap. Take it out of the fridge at least an hour before using it. The cheese filling can also be prepared in advance and stored in the refrigerator in an airtight container for one day.
There you have it! Now you no longer just have a recipe, but all the secrets to bring a piece of Sardinia to your table, a dessert that embodies history, flavor, and so much love. You've learned not only the "how," but also the "why" behind each step, transforming your kitchen into a laboratory of authenticity and success.
Don't be afraid to challenge yourself. Cooking is an act of creativity, a way to express affection and share joy. With this solid guide, your journey to perfect Seadas will be a guaranteed success. Prepare your ingredients, follow our tips, and get ready to receive applause and smiles from your loved ones!
Have you tried our recipe? We're very curious to see your masterpiece! Leave a comment below, tell us how it went, or share a photo on Instagram by tagging @CercaRicette.it. If you loved these Seadas, you can't miss our recipe for Sardinian Fregola with Clams or for another typical dessert like Sardinian Pardulas. Your adventure in Sardinian cuisine has just begun!


