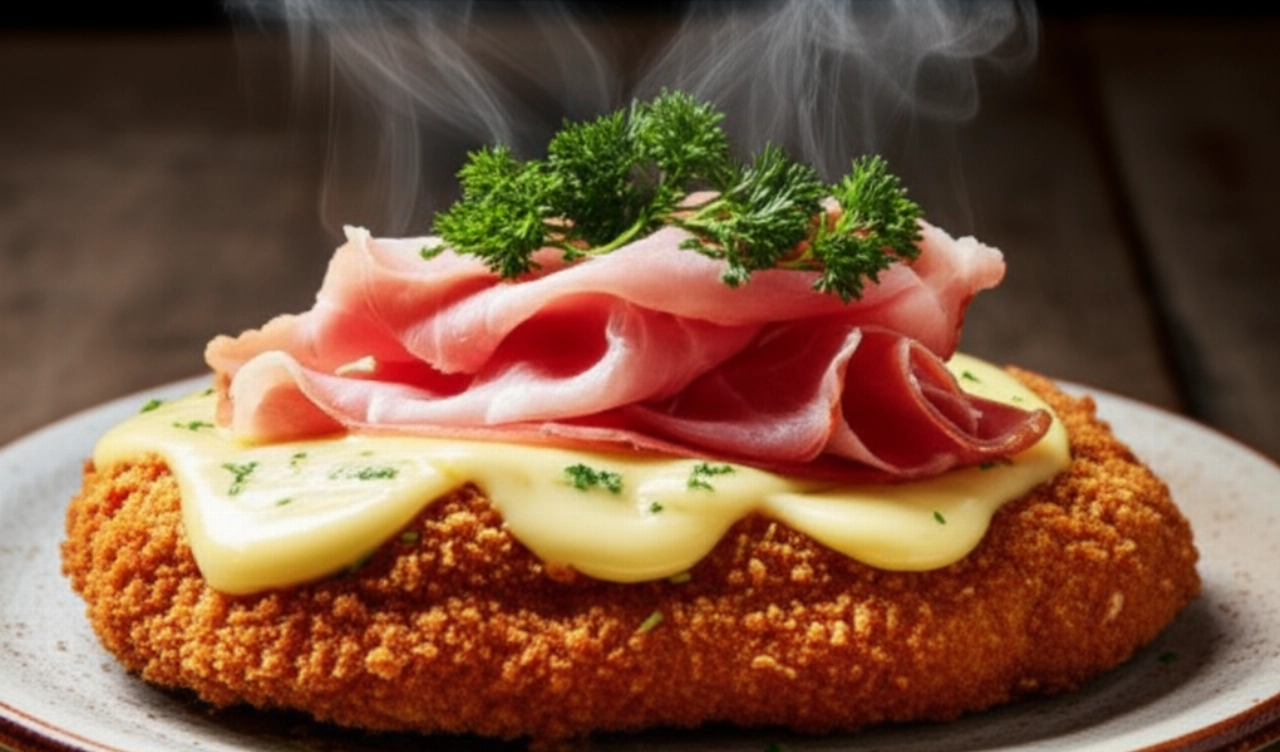
Dreaming of a golden Milanese cutlet, crispy on the outside and incredibly juicy on the inside, with that authentic flavor that takes you back to grandma's lunches? But how many times have you tried to make it and ended up with a breading that falls off, dry or too greasy meat? Finding the true recipe, the one with the bone and cooked properly, seems like a challenge.
Make yourself comfortable. On this page, you won't just find a list of ingredients, but the definitive guide, full of tricks and tips, to prepare the best Milanese Cutlet of your life. Success is guaranteed, and you'll feel like a true Milanese chef!
Milanese Cutlet: The Secret is in Ingredient Selection
For a cutlet that will make you say “Wow!”, ingredient quality is the first step. It's not just a list, but a reasoned selection:
- Meat: Veal leg with bone (the true 'costoletta'). It's essential for flavor and to keep the meat juicy during cooking. The ideal thickness is about 2-3 cm. Ask your trusted butcher for milk-fed veal leg, tender and light-colored.
- Eggs: Very fresh. Preferably from free-range hens. We will use the whole egg, well beaten, for a perfectly adhering breading.
- Breadcrumbs: Of excellent quality. Not too fine nor too coarse. You can also make them at home with toasted stale bread, coarsely blended: the result will be even more authentic and crispy.
- Clarified Butter: The true secret of the cutlet. It resists high temperatures better without burning and gives an unmistakable flavor and a perfect golden color. Do not substitute it with oil if you want the original flavor!
- Salt and Pepper: Quality. To be ground at the moment, to enhance the flavor without covering it.

The 3 Mistakes Not to Make for a Perfect Cutlet (and How to Avoid Them)
Even the most experienced cooks can fall into these traps. But you, with my tips, will avoid them!
- Not pounding the meat correctly: The Milanese cutlet is not a thin slice! You shouldn't flatten it too much, but only slightly even out the thickness. Maintaining its 2-3 cm is crucial for internal juiciness. Use a meat mallet gently, covering the meat with plastic wrap.
- Breading that falls off: This is a classic! The secret is pressure. Make sure to press the breadcrumbs firmly onto the entire surface of the meat, including the edges, with your hands. A double egg-breadcrumb coating can help create a more robust and adhering layer.
- Wrong cooking: The butter should be hot but not smoking. Too high a temperature burns the breading externally, leaving the meat raw inside. Too low, on the other hand, makes it soft and greasy because the cutlet absorbs too much fat.
Grandma's Touch: The Secret to an Unforgettable Cutlet
My grandma always said that the secret isn't just in the ingredients, but in patience and 'feeling' the cutlet. Before breading, she would lightly dust the meat with 00 flour. A trick that helps the egg adhere better and makes the breading even more stable and crispy. And then, don't skimp on clarified butter: it's the soul of the cutlet!
Let's Prepare Milanese Cutlet Together: The Step-by-Step Guide
Now that you know all the secrets, let's get cooking. I'll guide you step by step for an impeccable result.
Ingredients:
- 4 slices of veal leg with bone (about 250-300g each, 2-3 cm thick)
- 2 very fresh large eggs
- 200g quality breadcrumbs
- 50g 00 flour (optional, for grandma's trick)
- 150-200g clarified butter (or more, if needed)
- Fine salt and freshly ground black pepper to taste
- Lemon slices for serving
Tools:
- Meat mallet
- 3 deep plates or wide bowls
- Large non-stick frying pan
- Kitchen tongs
- Paper towels
Method:
- Prepare the meat: Pat the veal slices dry with paper towels to remove excess moisture. If necessary, lightly pound them to even out the thickness, without making them too thin (they should remain about 2 cm).
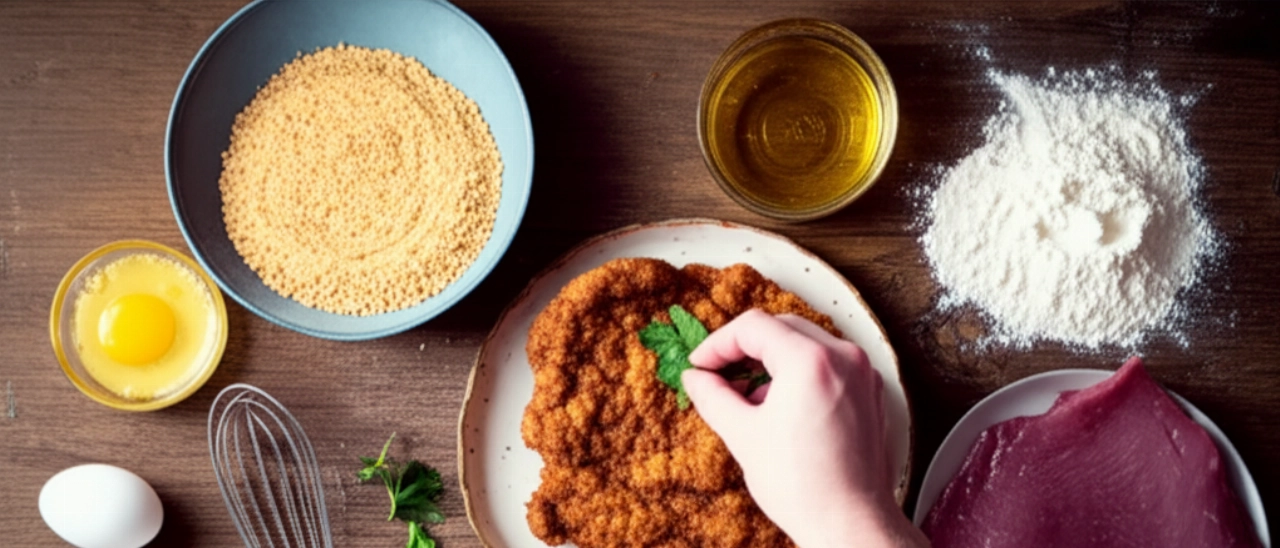
- Prepare the breading: In a deep plate, beat the eggs with a pinch of salt and pepper. In another plate, pour abundant breadcrumbs. If you use grandma's trick, put the flour in a third plate.
- Perfect breading: First, coat each slice of meat in flour (if using), shaking off the excess. Then, dip it in the beaten eggs, ensuring it's completely covered; let excess drip off. Finally, coat it in breadcrumbs, pressing firmly with your hands to make it adhere on all sides, including the edges. You can repeat the egg-breadcrumb step for a more robust and crispy double breading.
- Cooking in clarified butter: In a large frying pan, melt abundant clarified butter over medium-high heat. It should be hot but not smoking. When the butter is foamy and slightly golden, gently place the cutlet (or cutlets, if the pan is large enough not to overcrowd). Do not cook too many at once to avoid lowering the butter's temperature.
- Browning and resting: Cook for about 4-5 minutes per side, or until the breading is golden and crispy. During cooking, you can slightly tilt the pan and baste the cutlet with hot butter for even browning. Once cooked, drain it on paper towels to remove excess fat. Salt it immediately with a pinch of fine salt.
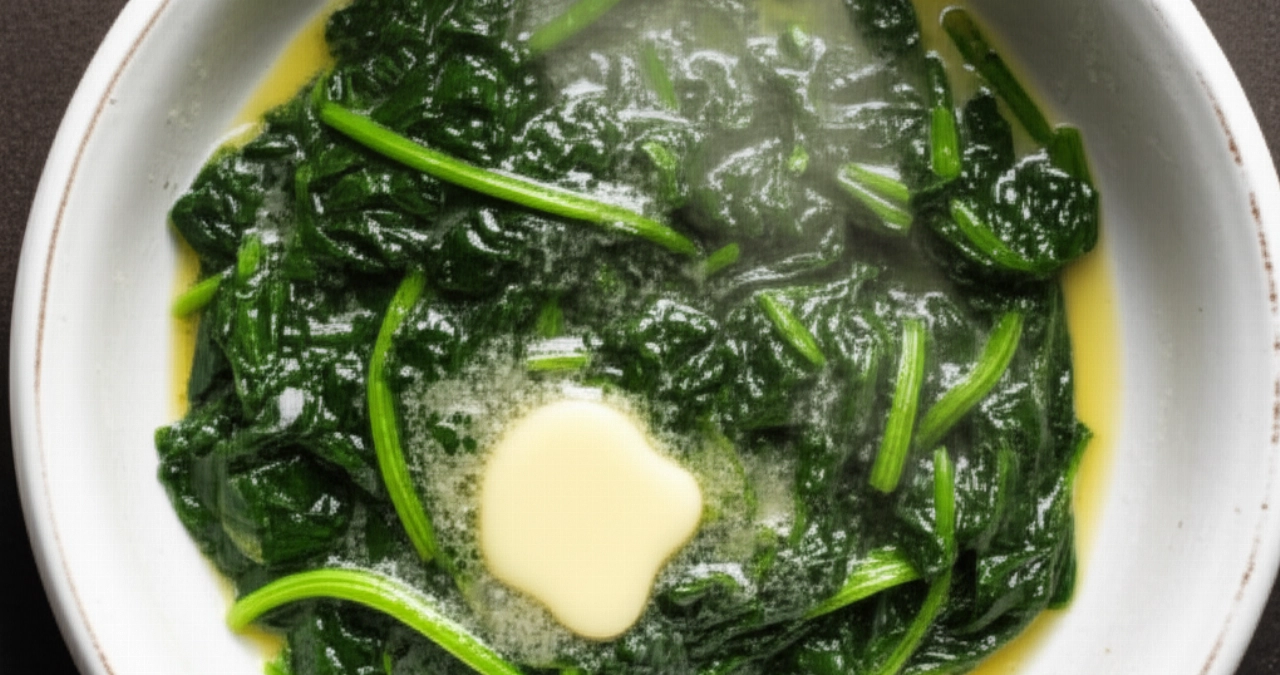
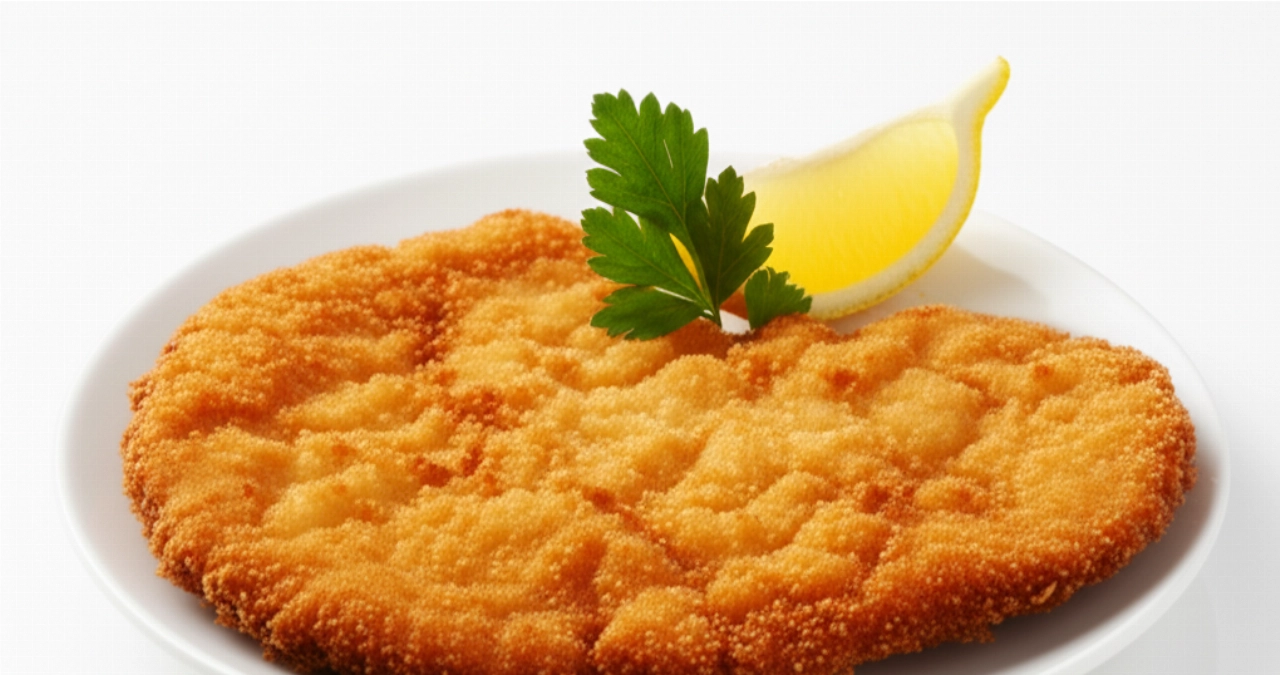
- Serve immediately: Serve your Milanese Cutlet piping hot, perhaps with a slice of lemon and a light side dish like a green salad or fresh cherry tomatoes. Its crispiness is at its peak when freshly made!
Tips and Frequently Asked Questions about Milanese Cutlet
Still have some doubts? Here are the answers to the most common questions:
Can I use boneless meat?
Certainly, the traditional recipe calls for bone for a more intense flavor and greater juiciness, but you can use boneless veal leg, cut thick (always 2-3 cm). The result will still be delicious, even if technically it won't be the 'costoletta' with the bone.
Can I cook it in oil instead of butter?
Clarified butter is the key ingredient for the authentic flavor and browning of the Milanese cutlet. Olive oil will not yield the same result in terms of taste and crispiness. If you absolutely don't have clarified butter, you can use a mix of regular butter and a drizzle of seed oil (not olive oil) to raise the smoke point, but the flavor won't be the same.
How can I prevent the breading from falling off?
Make sure to press the breadcrumbs very firmly onto the entire surface of the meat, using your hands. You can also do a double breading (flour-egg-breadcrumbs-egg-breadcrumbs) for greater adhesion and crispiness. And don't move the cutlet too much during cooking!
Can I prepare the cutlet in advance?
You can bread the cutlets and store them in the refrigerator for a few hours (maximum 2-3), well covered with plastic wrap, before cooking them. I do not recommend cooking them in advance and then reheating them, as they will irrevocably lose their crispiness and juiciness.
What is the secret to a crispy and non-greasy cutlet?
The butter temperature is crucial: it must be hot but not smoking. If it's too cold, the cutlet will absorb too much fat; if it's too hot, it will burn the breading before the meat is cooked. And don't forget to drain it on paper towels to remove excess fat immediately after taking it out of the pan!
Your Milanese Masterpiece is Ready!
There you have it! Now you no longer just have a recipe, but all the secrets to bring to the table a Milanese Cutlet that will make you dream, a true masterpiece of crispiness and flavor that tastes of home, tradition, and love. Every bite will be a trip to Milan, an explosion of taste that will make you feel like a true chef.
Don't be afraid to challenge yourself. Cooking is an act of creativity and love. Start with this solid foundation and you'll see that applause won't be lacking. Your cutlet will be the undisputed star of the table!
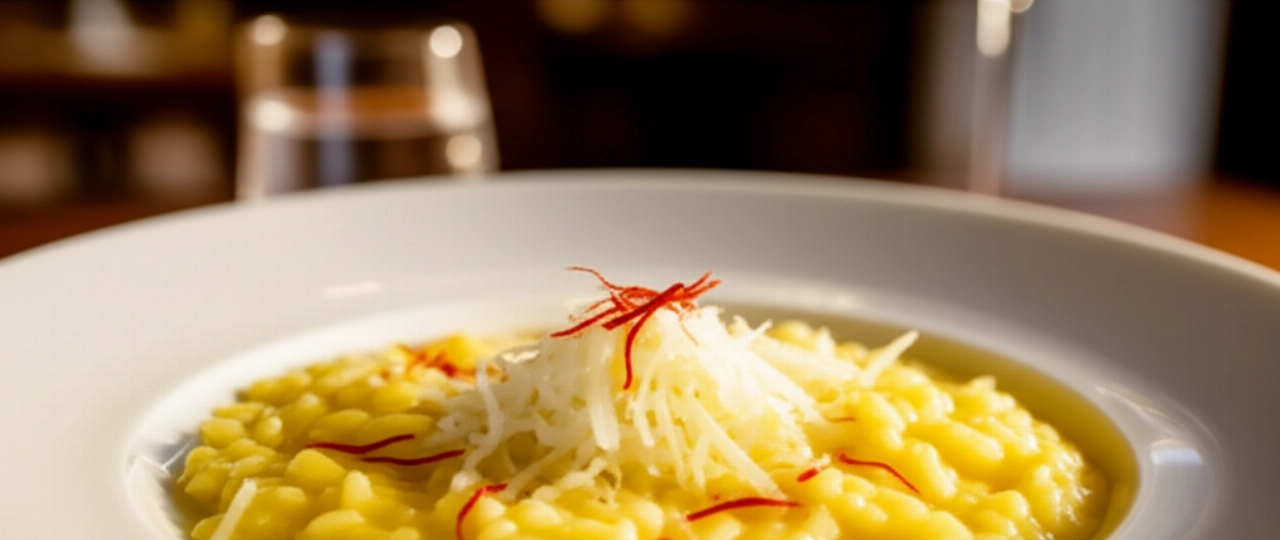
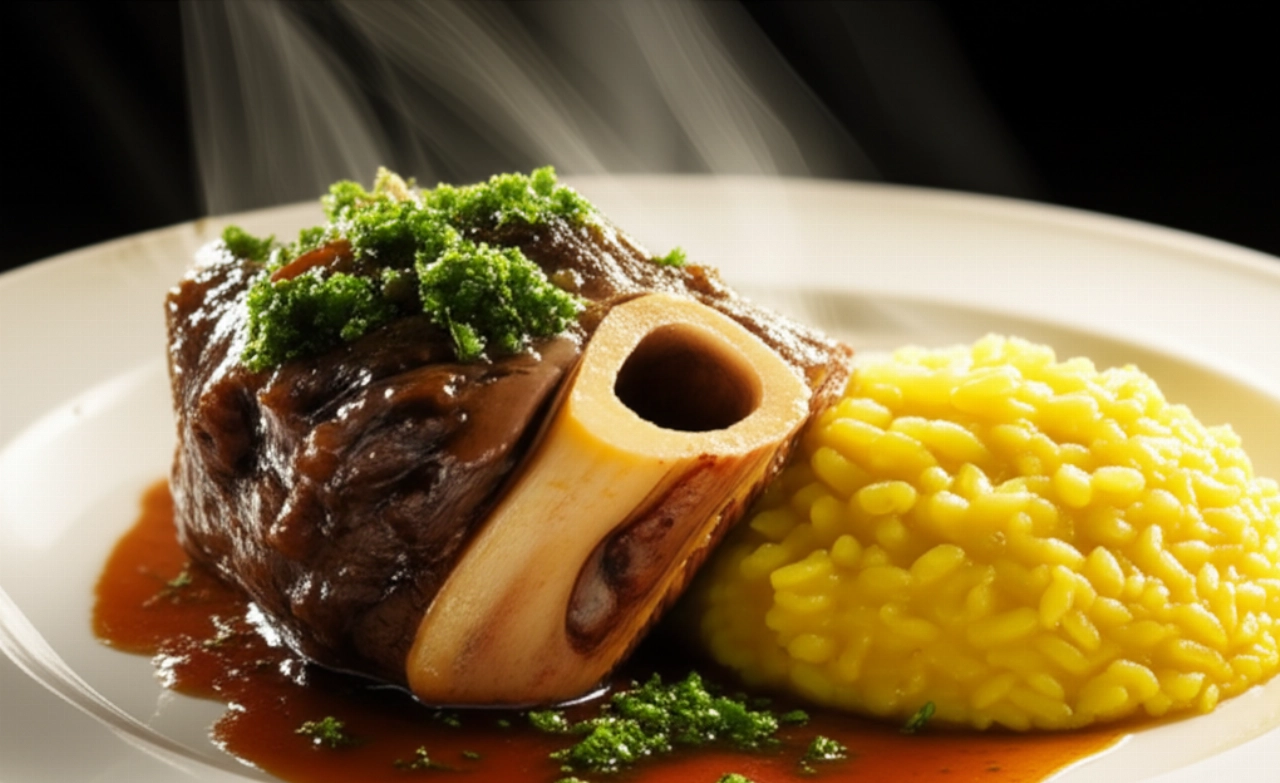
Have you tried our Milanese Cutlet recipe? We're very curious to see your masterpiece! Leave a comment below, tell us how it went, or share a photo on Instagram by tagging @CercaRicette.it. If you loved this cutlet, you can't miss our recipe for Saffron Risotto or for a perfect side dish like Crispy Roasted Potatoes.