The Heart of Perugia on Your Table: The Perfect Ciaramicola Awaits You!
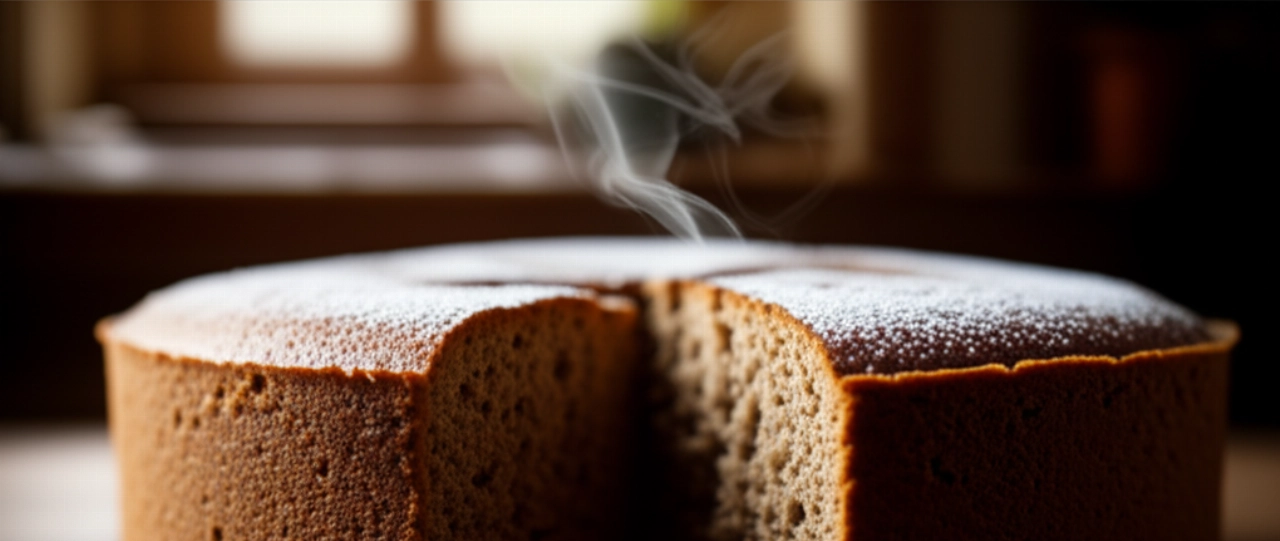
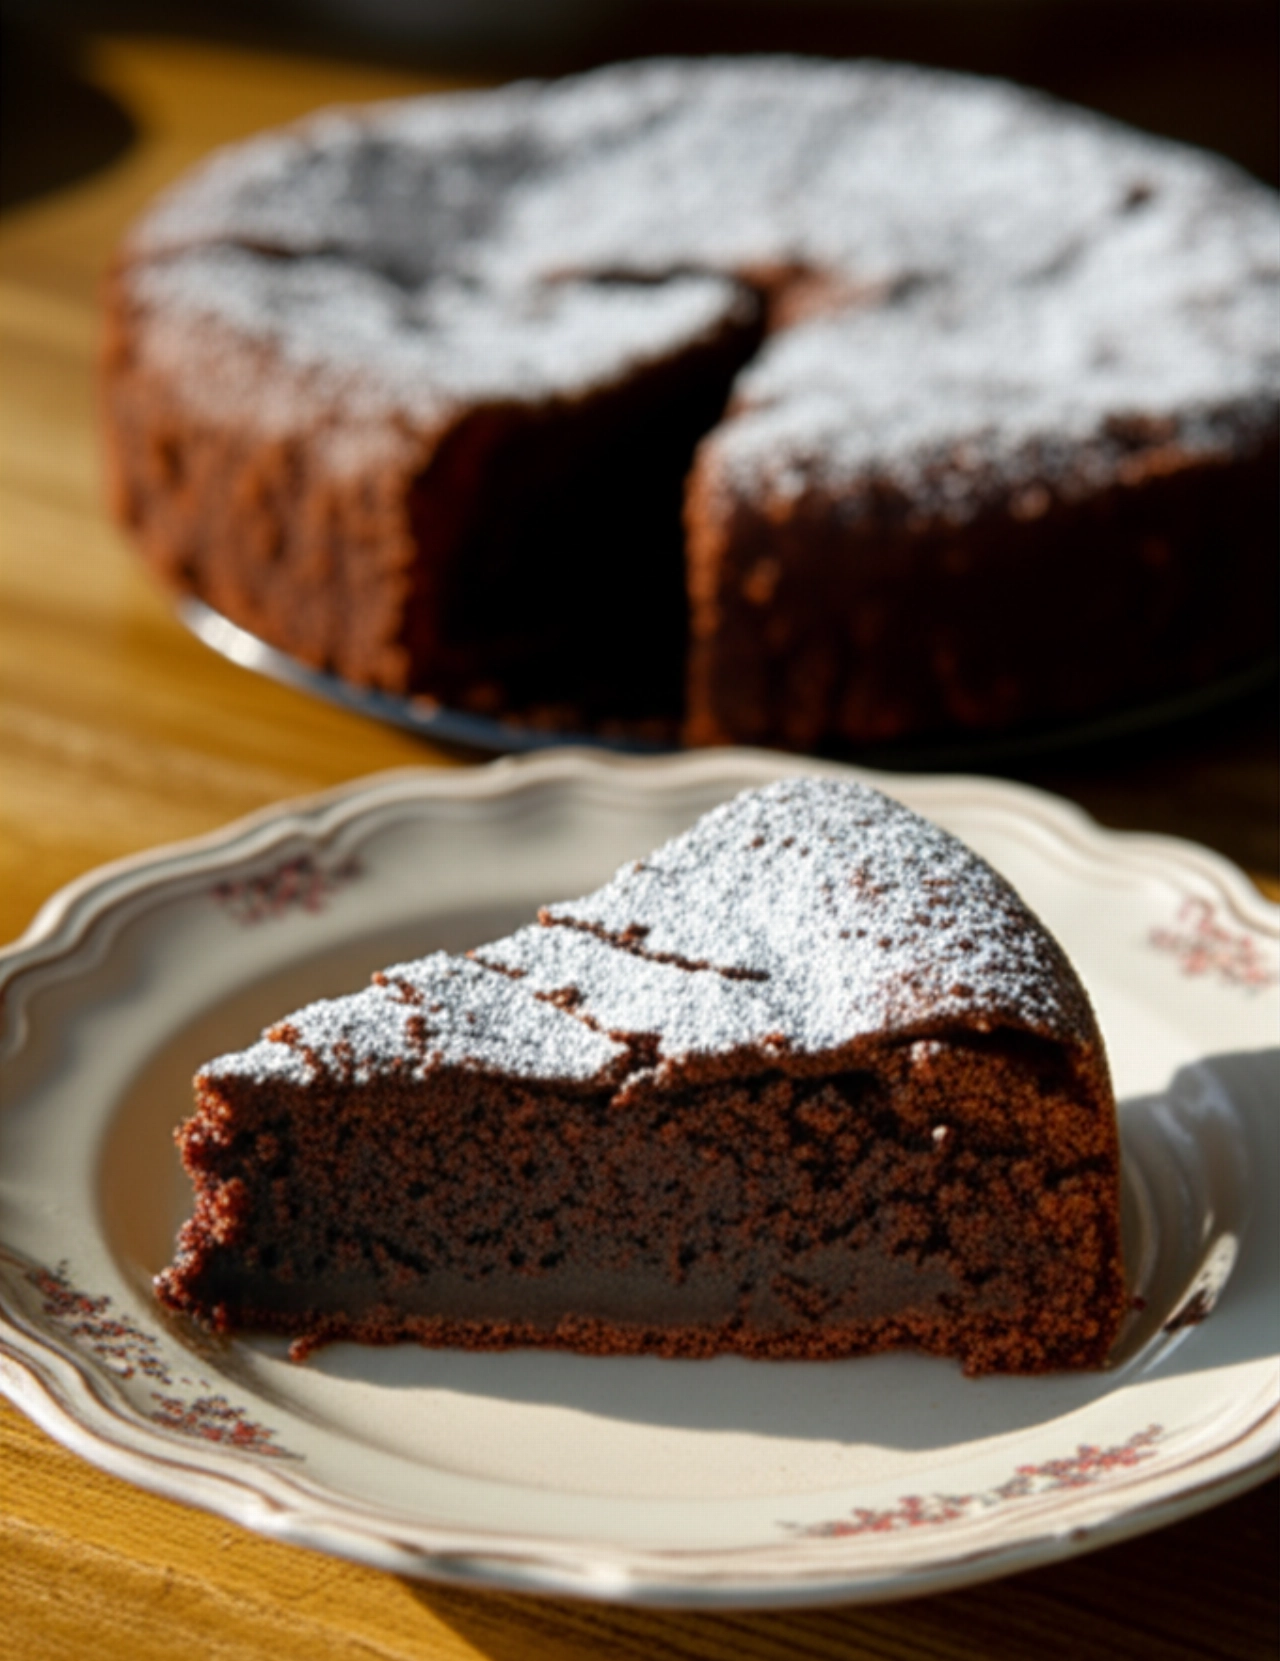
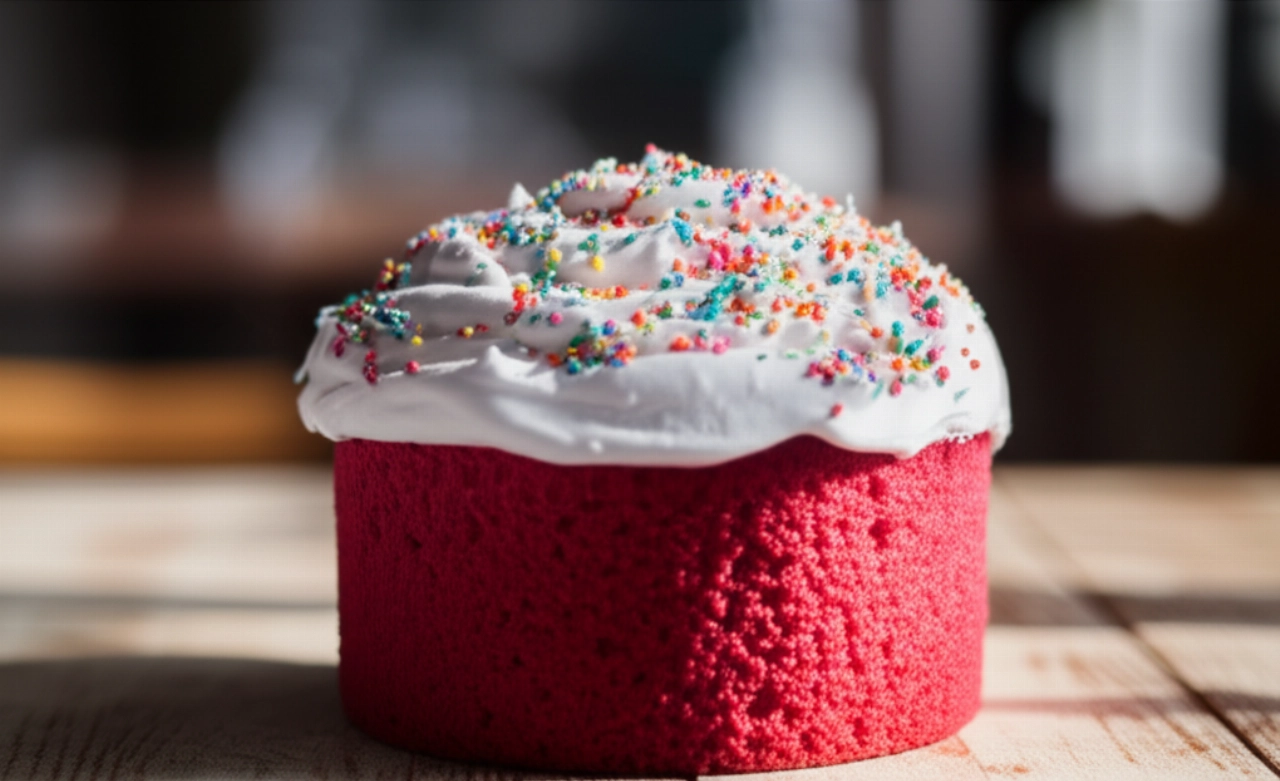
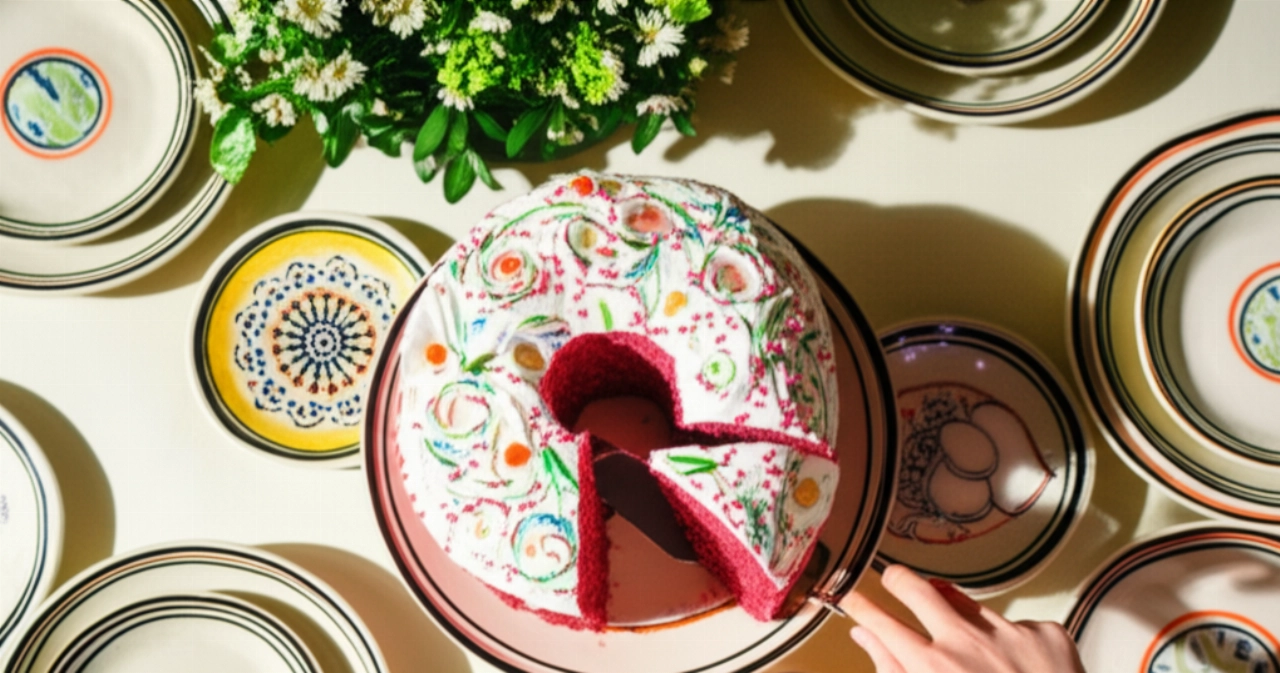
There's a scent that speaks of spring, of celebration, of home. It's the scent of Ciaramicola, Perugia's Easter cake that brings joy and color to the table. A triumph of flavors, with its unmistakable donut shape, bright pink glaze, and colorful sprinkles that look like stars fallen from the sky.
But how many times have you dreamed of preparing it and stopped yourself for fear of not achieving that perfect glaze, that vibrant color, or simply not living up to tradition? Recipes seem complex, full of mysterious steps, and the anxiety of wasting precious ingredients is always around the corner.
Make yourself comfortable. Here you won't just find a list of ingredients, but the definitive guide, full of "grandma chef" tips and foolproof tricks, to prepare an authentic and spectacular Ciaramicola. Success is guaranteed, and your Easter table will be a triumph of flavors and colors. I promise you that, by following my advice, you will achieve perfect tradition without fear, a dessert that will make all your guests exclaim "Wow!"

Ingredients for a Perfect Ciaramicola: The Choice That Makes the Difference
Preparing Ciaramicola is an act of love, and like every act of love, it requires carefully chosen ingredients. It's not just a list, but a thoughtful selection to guarantee you the best possible result.
- All-purpose flour (500 g): The base of our cake. It must be of good quality, for an elastic and well-structured dough.
- Granulated sugar (200 g): Not only sweetens, but contributes to the softness and browning of the dough.
- Medium eggs (4 whole + 1 yolk): Eggs bind the dough and give it richness. The extra yolk gives a more intense color and greater softness.
- Butter (100 g): Soft, at room temperature. It's the secret to a velvety dough and an enveloping flavor.
- Alchermes (50 ml): This red liqueur is the soul of Ciaramicola, giving it its characteristic color and unmistakable aroma. Don't skimp on quality!
- Grated zest of 1 untreated lemon: A fresh, citrusy scent that balances the sweetness and enriches the aromatic bouquet.
- Baking powder (1 sachet, 16 g): Essential for the leavening and lightness of the cake.
- Salt (a pinch): Enhances all other flavors, never forget it!
For the Pink Royal Icing:
- Powdered sugar (250 g): Must be very fine for a smooth, lump-free icing.
- Egg white (1 medium): The egg white is the base of the icing, giving it shine and allowing it to dry perfectly.
- Alchermes (2-3 tablespoons): For the iconic pink color. Add it little by little until you reach the desired shade.
For Decoration:
- Colorful sprinkles (diavoletti): They are the signature of Ciaramicola, a touch of cheer that makes it irresistible.
The 3 Common Ciaramicola Mistakes (and How to Avoid Them)
Even the most experienced can encounter a few small hitches. But don't worry, I'm here to reveal the secrets and help you avoid the most common pitfalls, those that can turn your masterpiece into a disappointment.
- Dough Too Hard or Too Sticky: If the dough is too hard, the cake will be dry. If it's too sticky, it will be difficult to work with. The secret is proper hydration and gentle handling. Don't add too much flour if it seems sticky at first; keep working it, the dough will gain consistency. If it's too dry, add a drop of milk or alchermes, but sparingly.
- Icing That Doesn't Dry or Cracks: This is a common frustration! It often depends on too much liquid or insufficient mixing. The royal icing should be thick but fluid, and the egg white should be whipped to stiff peaks but not too dry. Furthermore, it's crucial to apply it to a completely cold cake and let it air dry in a dry place, without rushing.
- Faded Ciaramicola Color: If your cake doesn't have that beautiful pink color inside, you probably used too little alchermes in the dough. Don't be afraid to be generous with this liqueur; it's what gives it its characteristic hue and unmistakable aroma.
The Extra Touch: The Secret to a Masterful Ciaramicola
My grandmother, when she prepared Ciaramicola, had a small ritual. Before adding the alchermes to the dough, she would warm it slightly. Not boiling, just lukewarm. She said that this way it "opened up" and released its scent and color better. And she was right! This small, almost imperceptible gesture ensures that the alchermes blends better, distributing the color more uniformly and intensifying the aroma. Try it, it's a secret few know and it will make a difference in your Ciaramicola.
Let's Prepare Ciaramicola Together: The Step-by-Step Guide
Phase 1: The Fragrant Dough
- Prepare the ingredients: Make sure the butter is soft and the eggs are at room temperature. This is essential for a homogeneous dough.
- Start with eggs and sugar: In a large bowl (or stand mixer), beat the whole eggs and yolk with the granulated sugar until you get a light and frothy mixture. This step is crucial for incorporating air and making the cake soft.
- Add the flavorings and butter: Combine the grated lemon zest and the soft butter in pieces. Mix well until the butter is completely incorporated.
- The touch of Alchermes: Lightly warm the alchermes (as grandma taught you!) and incorporate it into the mixture. You'll immediately see the color start to turn pink.
- Incorporate the flour and baking powder: Sift the flour with the baking powder and a pinch of salt. Add them gradually to the liquid mixture, stirring first with a spatula and then kneading with your hands (or with the stand mixer hook) until you get a smooth, soft, and elastic dough. Don't overwork it, just long enough for it to come together.
- Shape the donut: Butter and flour a 24-26 cm donut mold. Transfer the dough into the mold, leveling it well.
Phase 2: Perfect Baking
- Preheat the oven: Turn on the static oven to 170°C.
- Bake: Bake the Ciaramicola for about 40-50 minutes. The time may vary depending on your oven.
- Do the toothpick test: To be sure it's cooked, insert a toothpick into the center of the cake: if it comes out clean, it's ready.
- Cool: Once baked, remove the Ciaramicola from the oven and let it cool completely in the mold for 10 minutes, then unmold it onto a wire rack and let it cool completely. This is a crucial step before glazing!
Phase 3: The Royal Icing and Decoration
- Prepare the icing: In a bowl, whip the egg white to very stiff peaks. Gradually incorporate the sifted powdered sugar, mixing gently from bottom to top so as not to deflate the egg white.
- Color the icing: Add the alchermes little by little, mixing until you get a beautiful bright pink color and a thick but spreadable consistency. It shouldn't be too liquid, otherwise it will slide off.
- Glaze the cake: When the Ciaramicola is completely cold, spread the icing evenly over the entire surface, using a spatula or the back of a spoon.
- Decorate: Before the icing dries, sprinkle generously with the colorful sprinkles.
- Let dry: Leave the Ciaramicola exposed to air, in a dry place, for at least 2-3 hours (or even overnight) until the icing has completely hardened. Patience is key for a perfect glaze!
Tips and Frequently Asked Questions about Ciaramicola
Here are some of the questions I'm most often asked about Ciaramicola, with my answers from a "guardian" of Italian cuisine.
Can I substitute Alchermes?
Alchermes is an iconic ingredient of Ciaramicola, both for its color and flavor. If you really can't find it or don't like it, you can use another sweet red liqueur like Rosolio or, for a non-alcoholic version, cherry juice or strawberry syrup, perhaps with a few drops of red food coloring to achieve the desired shade. Keep in mind that the flavor won't be exactly the same, but your cake will still be delicious.
How do I store Ciaramicola?
Once the icing has completely dried, you can store Ciaramicola at room temperature, covered with a cake dome or gently wrapped in plastic wrap, for 3-4 days. It remains soft and fragrant, perfect for breakfast or a snack.
My icing isn't drying, what do I do?
This is a common problem! The causes can be several: too much humidity in the environment, too little egg white in the icing, or the cake was not completely cold. Make sure to use egg white whipped to stiff peaks and add the powdered sugar gradually. Let the cake dry in a dry, ventilated place, away from sources of steam. If it really doesn't dry, you can try putting it in a turned-off oven with the door slightly ajar for a few hours; the dry air will help.
Can I prepare the dough in advance?
Yes, you can prepare the dough the day before and store it in the refrigerator, well covered, overnight. Before using it, let it return to room temperature for at least an hour, so that the butter softens and the dough is easier to work with and rises correctly.
A Masterpiece of Flavor and Tradition is Served!
There you have it! Now you no longer just have a recipe, but all the secrets to bring a Ciaramicola to your table that smells of home, Umbrian tradition, and love. Every slice will be an ode to Easter, a triumph of colors and flavors that will win over everyone, from the youngest to the oldest.
Don't be afraid to experiment. Cooking is an act of creativity and sharing. But start from this solid base and you'll see that applause won't be lacking. Your Ciaramicola will be a masterpiece of taste and beauty, proof that with the right tips, every dish is within your reach.
Have you prepared your Ciaramicola following my tips? We can't wait to admire your cake! Leave a comment below, tell us about your experience, or share a photo on Instagram by tagging @CercaRicette.it. If you loved this Easter cake, you can't miss our recipe for Torcolo di San Costanzo, another Perugian classic, or for another iconic dessert like Homemade Colomba Pasquale. Authentic cuisine awaits you!