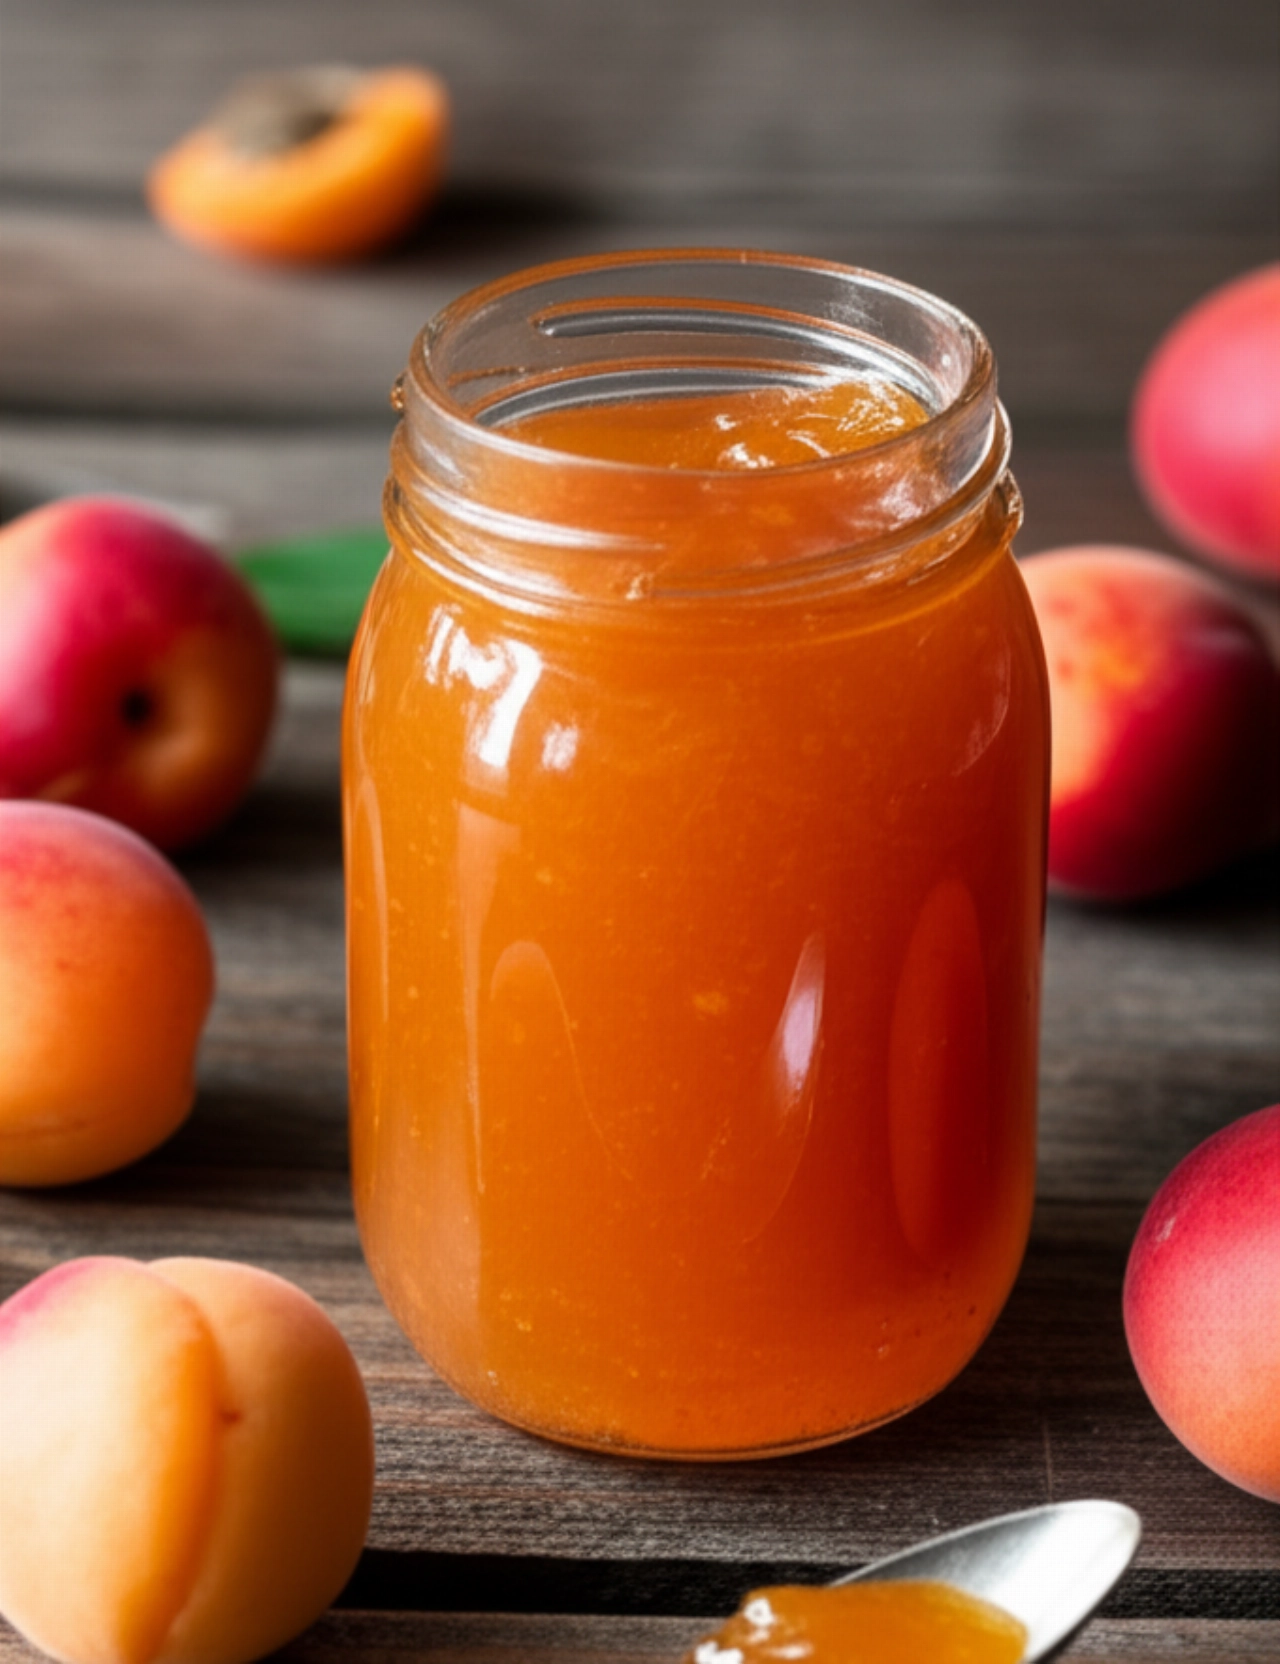
Do you dream of opening a jar and feeling summer explode with the sweet, enveloping scent of freshly picked apricots? Do you imagine a jam so velvety it melts in your mouth, perfect for breakfast or a wholesome snack?
Too often, however, making homemade jam can seem like a minefield: fear that it won't thicken, that it will become too hard, or even worse, that the jars won't preserve and all your hard work will go to waste. How many times have you given up, thinking it was too complicated or that the result wouldn't live up to your expectations?
Make yourself comfortable. On this page, you won't just find a list of ingredients, but the definitive guide, full of tricks and tips, to prepare the best apricot jam of your life. I'll reveal the secrets for a perfect consistency and safe preservation, guaranteeing you success that will make you feel like a true guardian of old-fashioned flavors. Success is guaranteed, and every jar will be a small treasure to savor!
Ingredients for a Dream Apricot Jam: The Choice That Makes the Difference
For a jam that truly tastes of apricot and preserves well, the quality of the ingredients is fundamental. It's not just a matter of quantity, but of choosing carefully, just like grandma would at the market.
- Ripe but firm apricots: Choose well-ripened apricots that are sweet and fragrant, but still firm to the touch. Those that are too soft might have a less pleasant consistency once cooked, while unripe ones would lack sweetness and aroma. Apricots are naturally rich in pectin, the substance that helps jam thicken.
- Granulated sugar: It's not just a sweetener, but a natural preservative. The classic proportion is 1:1 (one kilo of fruit for one kilo of sugar), but for very sweet apricots or if you prefer a less sugary jam, you can go down to 700-800 grams per kilo of fruit. Don't go too low, though, or preservation might be compromised.
- Fresh lemon juice: A magical ingredient! Lemon not only enhances the flavor of apricots but, thanks to its acidity, activates the fruit's natural pectin, promoting thickening. Furthermore, it helps maintain a bright color and prevents oxidation.
Remember: the quality of the raw ingredients is the first step towards success. Always choose seasonal fruit, preferably locally sourced, for an authentic and unmistakable flavor.

The 3 Common Mistakes in Jam Making (and How to Avoid Them)
Even the most experienced cooks can encounter some snags. But don't worry, I'm here to reveal the tricks to avoid them and guarantee you perfect jam every time.
- Not respecting maceration times: Many skip the step of letting the fruit macerate with sugar for several hours or overnight. This is a mistake! Maceration allows the fruit to release its juices, which mix with the sugar to create a syrup. This step is crucial for uniform cooking and to prevent the fruit from sticking to the bottom of the pot.
- Insufficient or excessive cooking: Jam that is too runny is frustrating, but one that is too thick or "gummy" is equally so. The secret lies in reaching the right cooking point. If you cook it too little, it won't thicken; if you cook it too much, it will lose freshness and flavor, and become too hard once cooled. I'll explain the "saucer test" so you never go wrong!
- Approximate jar sterilization: This is perhaps the most serious mistake, as it compromises the preservation and safety of your jam. Jars that are not properly sterilized or sealed incorrectly can lead to mold formation or, worse, bacterial proliferation. Washing them is not enough; they must be properly sterilized!
The Extra Touch: The Tip My Grandmother Passed Down to Me for Perfect Jam
My grandmother, with her country wisdom and always busy hands, had a secret for apricot jam that made it truly special: patience and attention to the "sound" of the cooking. She always told me: "When the jam starts to 'sing' in the pot, with large, slow bubbles bursting, it's almost ready. But the real secret is not to rush and to taste it, not just with your mouth, but with your eyes and hands."
Her trick for perfect consistency was the "wooden spoon test." After about 30-40 minutes of cooking, she would dip a wooden spoon into the jam, lift it, and observe how it dripped. If the drops fell slowly and joined to form a "tear" on the edge of the spoon, it was a sign that the pectin had done its job. A foolproof, simple method that doesn't require thermometers!
Let's Prepare Apricot Jam Together: The Step-by-Step Guide
Ingredients:
- 1 kg of ripe, firm apricots
- 700-800 g of granulated sugar (depending on the sweetness of the apricots and your taste)
- Juice of 1 large lemon
Necessary Tools:
- Large, thick-bottomed pot
- Wooden spoon
- Potato masher or fork (if you don't have an immersion blender)
- Glass jars with screw lids (sterilized)
- Jam funnel (optional, but very useful)
Instructions:
- Prepare the apricots:
Wash the apricots thoroughly under running water. Dry them, cut them in half, and remove the pit. You can choose to leave the skin on for a more rustic flavor and a higher amount of pectin, or peel them if you prefer a smoother jam (to peel them easily, you can blanch them for one minute in boiling water and then transfer them to cold water). Cut the apricots into small pieces or slices, depending on the consistency you desire. - Maceration:
Place the cut apricots in a large bowl. Add the sugar and lemon juice. Mix well with a wooden spoon, cover the bowl with plastic wrap, and let macerate in the refrigerator for at least 4-6 hours, or even better, overnight. This step allows the fruit to release its juices and the sugar to dissolve, preventing the jam from sticking during cooking. - Cooking:
Transfer the apricot and sugar mixture to a large, thick-bottomed pot. Bring to a boil over medium-high heat, stirring occasionally. As soon as it starts boiling, reduce the heat to minimum and continue cooking, stirring frequently to prevent it from sticking to the bottom. - Achieve perfect consistency:
Cooking will take approximately 40-60 minutes, depending on the amount of water released by the fruit and the desired consistency. During cooking, skim off any impurities that rise to the surface with a skimmer. To check for doneness, perform the "saucer test": place a teaspoon of jam on a cold saucer (perhaps kept in the freezer for a few minutes), then tilt the saucer. If the jam slides slowly and wrinkles slightly, forming a kind of "ridge" when you push it with your finger, it's ready! If you prefer it smoother, you can blend it with an immersion blender directly in the pot, being careful of splashes. - Jar sterilization and potting:
This is the crucial step for preservation! Make sure your jars and lids are perfectly clean and sterilized. You can sterilize them by boiling them in water for at least 10 minutes, or in an oven at 130°C for 20 minutes. Fill the jars with the boiling jam, using a funnel, leaving about one centimeter of space from the rim. Immediately close the jars with the lids, tightening them well. - Creating the vacuum seal:
Invert the freshly closed jars and let them cool completely in this position. The heat of the jam will create a vacuum seal, which will ensure long-term preservation. You will hear a "clack" when the lid has curved inwards, a sign that the vacuum seal has formed correctly. If a jar does not seal (the lid is not concave), consume it within a few days and store it in the refrigerator.
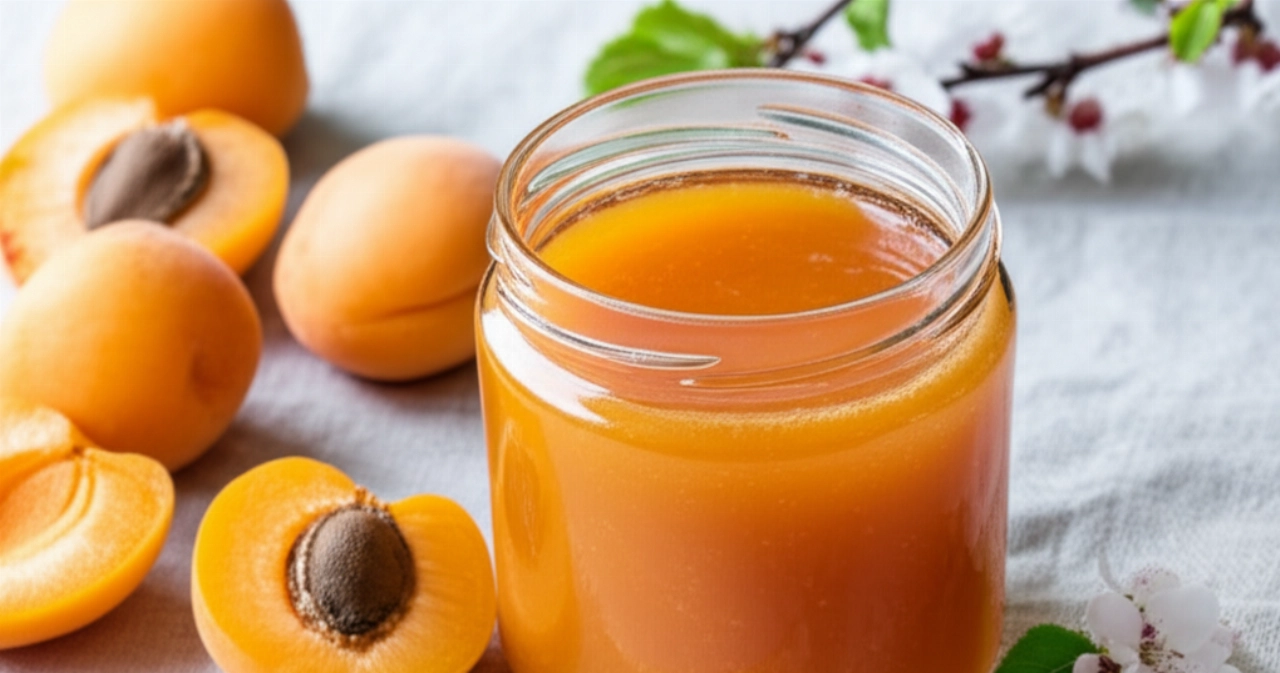
Your homemade apricot jam is ready! Let it rest for a few days before opening it, so the flavors will meld together best.
Tips and Frequently Asked Questions about Apricot Jam
Here are some of the most common questions I get asked about jam, with answers that will help you clear up any doubts!
- Can I use less sugar?
- Yes, you can reduce the amount of sugar to 700g per kilo of fruit, especially if the apricots are very sweet. However, remember that sugar is a natural preservative. Going too far below this amount could reduce preservation times and require longer cooking to reach the right density, or the addition of powdered pectin.
- How do I know if the jam is ready without the "saucer test"?
- Besides the saucer test, another indicator is the consistency of the bubbles: when the jam is almost ready, the bubbles become larger and burst more slowly. Also, you can observe the spoon: the jam should "coat" the wooden spoon, meaning it forms a thin layer that doesn't slide off immediately.
- How long does homemade jam keep?
- If jar sterilization and vacuum sealing have been performed correctly, homemade apricot jam can be stored for at least 12-18 months in a cool, dark place, away from heat sources. Once opened, store the jar in the refrigerator and consume within 7-10 days.
- Can I use frozen apricots?
- Yes, you can use frozen apricots, but consider that they might release more water during cooking, making boiling times slightly longer to reach the right consistency. It's not necessary to thaw them completely before starting preparation.
- My jam is too runny, what can I do?
- If the jam is too runny once cooled, you can put it back in the pot and boil it for another 10-15 minutes, performing the saucer test again. If it still doesn't thicken, you can add a teaspoon of powdered pectin (following package instructions) or a grated apple (rich in natural pectin) and continue cooking.
A Jar of Sunshine and Love: Your Apricot Jam is Ready!
There you have it! Now you no longer just have a recipe, but all the secrets to bring to the table a jam that tastes of home, tradition, and love. Every spoonful will be a small journey into the most authentic flavors, a sweet embrace that will accompany you from breakfast to snack time.
Don't be afraid to experiment and make this recipe your own. Cooking is an act of creativity and generosity. But start from this solid base, and you'll see that compliments won't be lacking, and the satisfaction of having created something so good with your own hands will be immense.
Have you tried our recipe? We're very curious to see your masterpiece! Leave a comment below, tell us how it went, or share a photo on Instagram by tagging @CercaRicette.it. If you loved the sweetness of apricots, you can't miss our recipe for Grandma's Apple Pie or the secrets to sterilizing jars for preserves, a fundamental step for any homemade preparation!